"We Entertain When It Rains"  
 
RDM for iPhone


Google
Web www.rainydaymagazine.com

RainyDayMagazine's content can now be licensed for your print magazine or web site. Please contact us directly here.  If you want to see something reviewed, then drop us a note with a link and we'll be happy to take a look.

 
October 31,2008 (FoodFriday)

Now that the electric oven and gas burners of the new Jenn Air range are all operational, it was time to give things a FirstUse test.  Most of us were more curious about the convection oven, so we decided we'll check that out first.  What would be a better test than to make some muffins?  Of course, the folks in the RainyDayKitchen couldn't make just any muffins, they had to make healthy spelt-flour muffins.  If you don't know what spelt is, just drop Carolyn a note.  She will tell you all about it.  Anyway, back to the oven...

Working the oven settings was pretty straightforward (no manual needed): just hit the "Bake" button, punch in the desired temperature, and off it goes.  The Temp Indicator gives the current reading and a "ping" goes off when the set temperature has been reached.  We gave up trying to figure out how to make the timer work.  I guess we'll have to RTMF for that one.

The oven came up to the desired temperature very quickly.  A good reason for using 240V/50A.  There is a convenient switch for an oven light so we could check on the baking without having to open the door.

The first batch of muffins came out perfect.  Now that we know the oven works, we will use our standard rosemary chicken recipe and give the convection feature a try. [Permalink] - Jenn Air Oven FirstUse


October 30,2008 (ReModellingThursday)

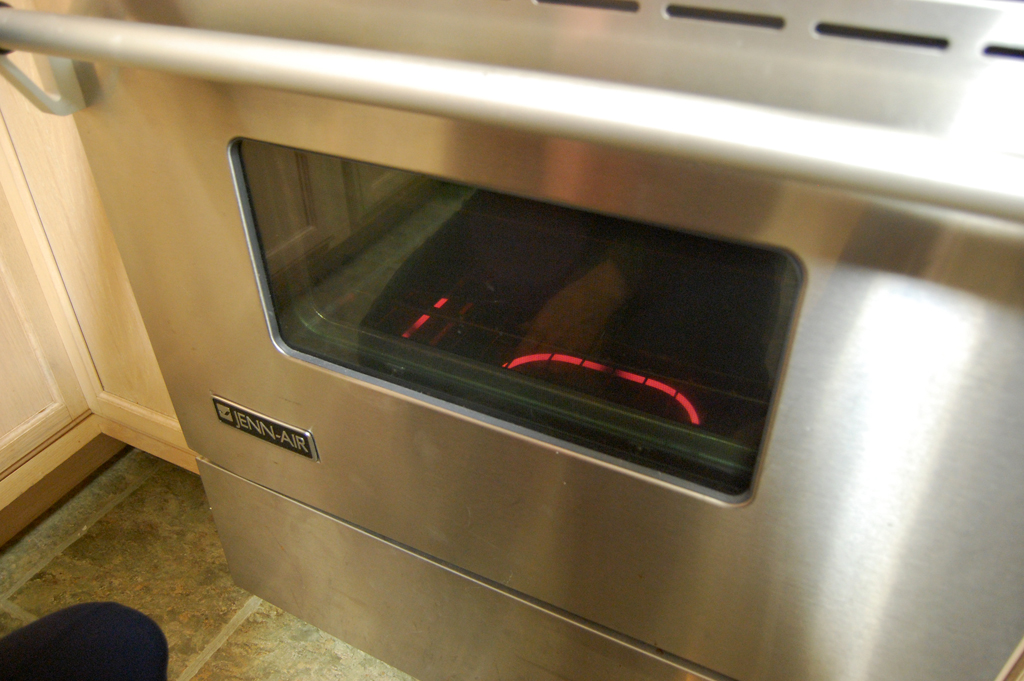
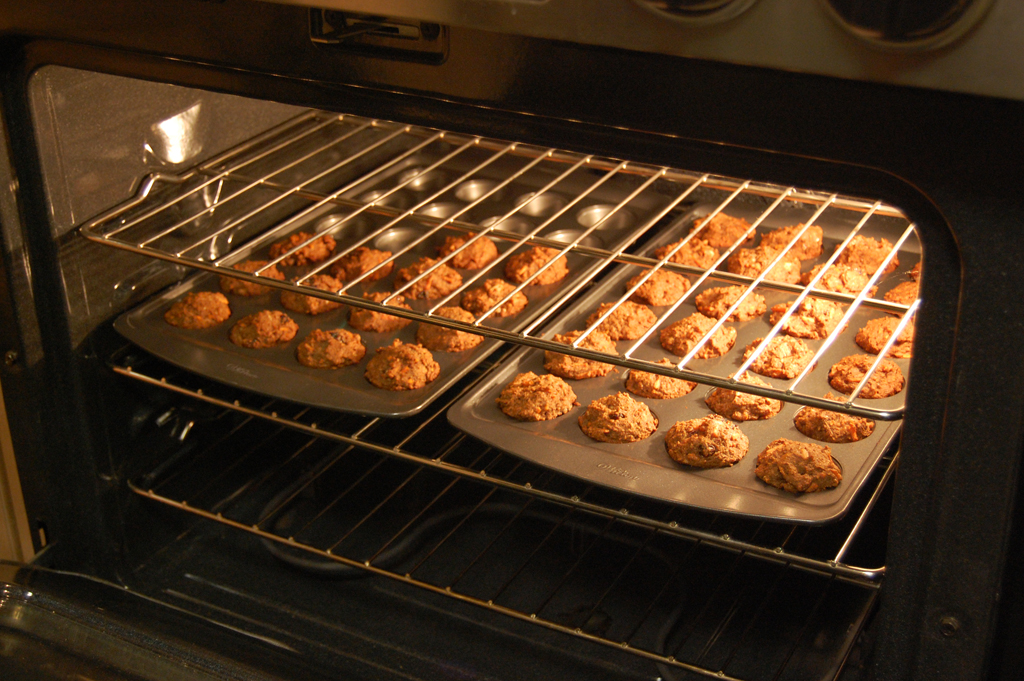
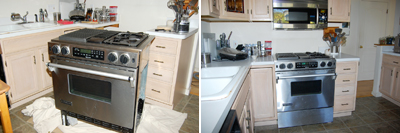
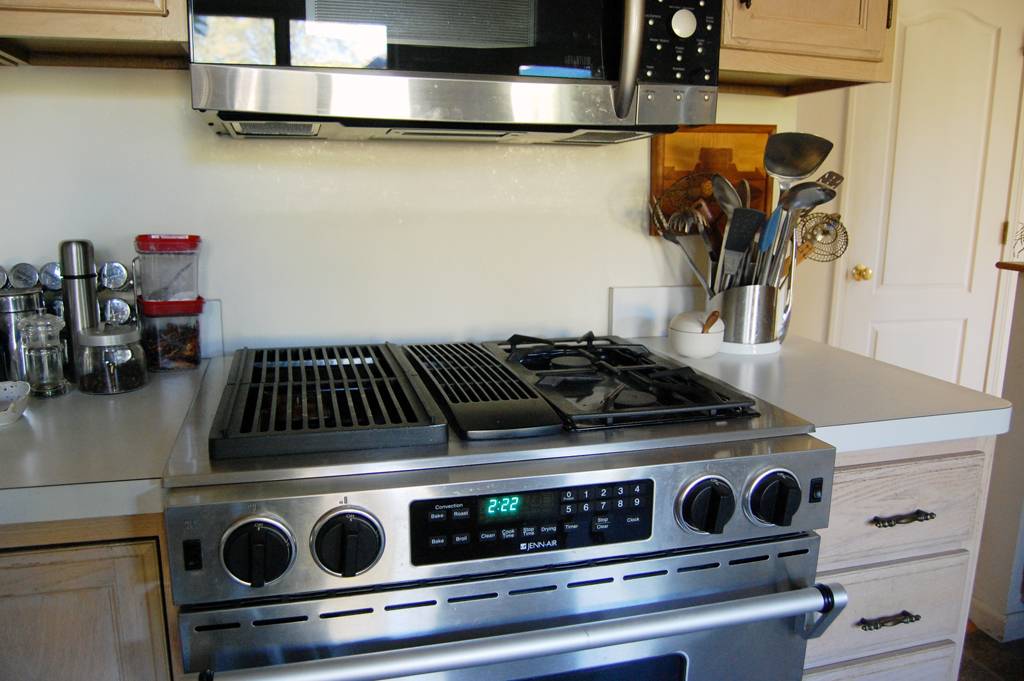
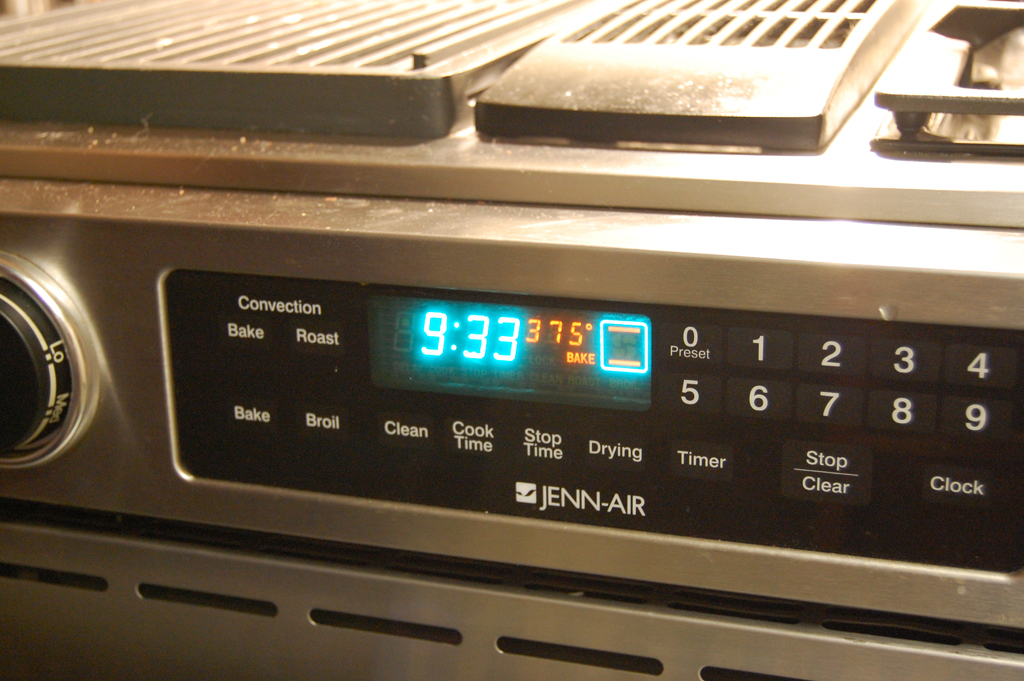
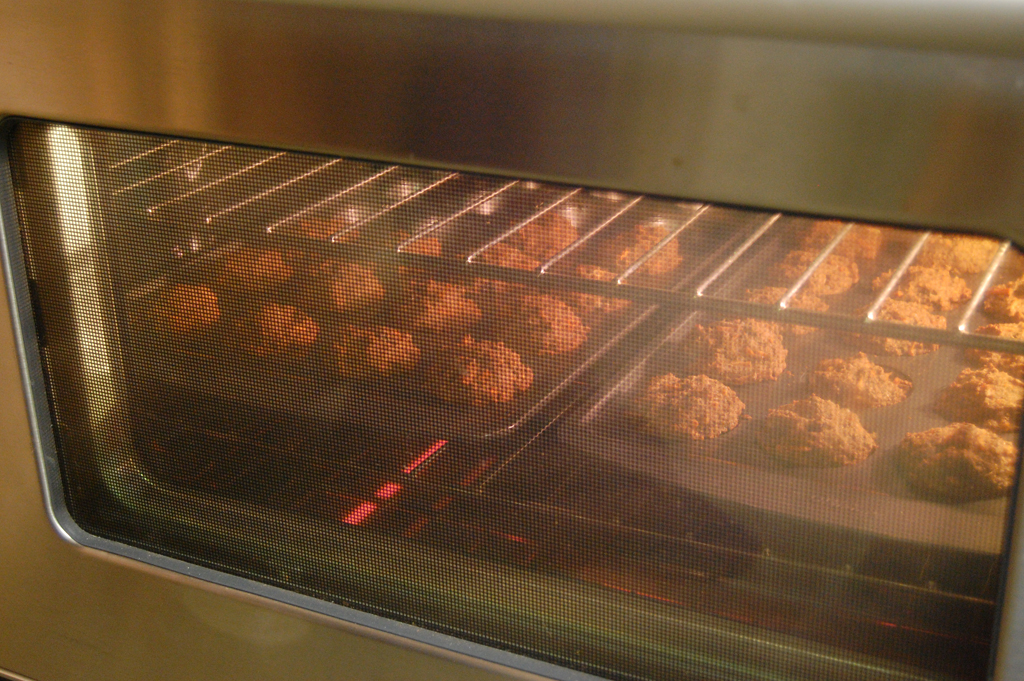
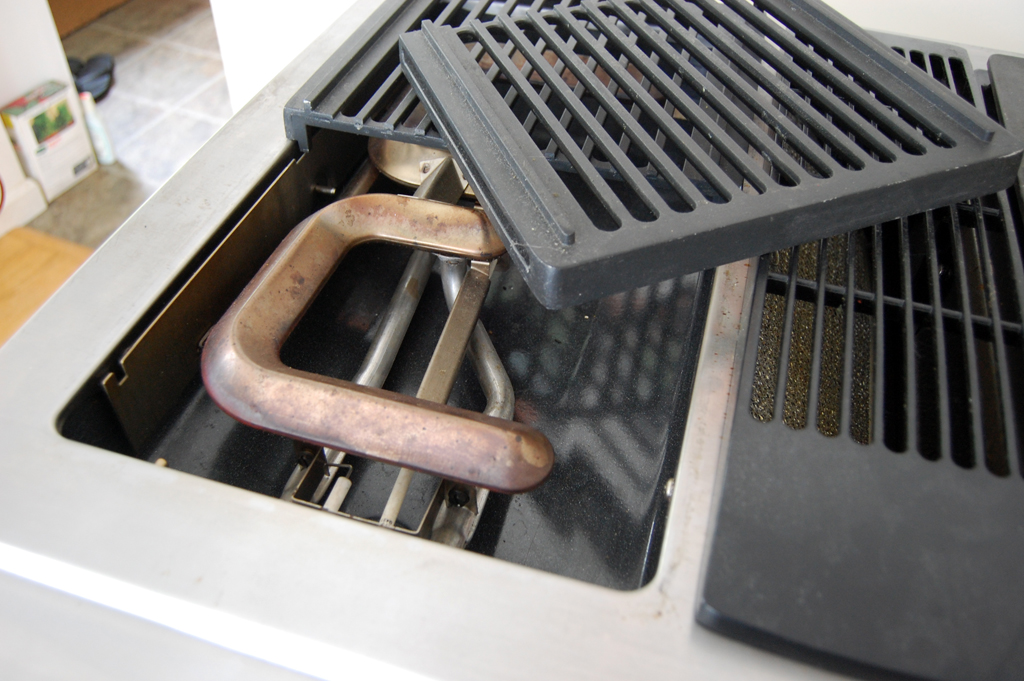
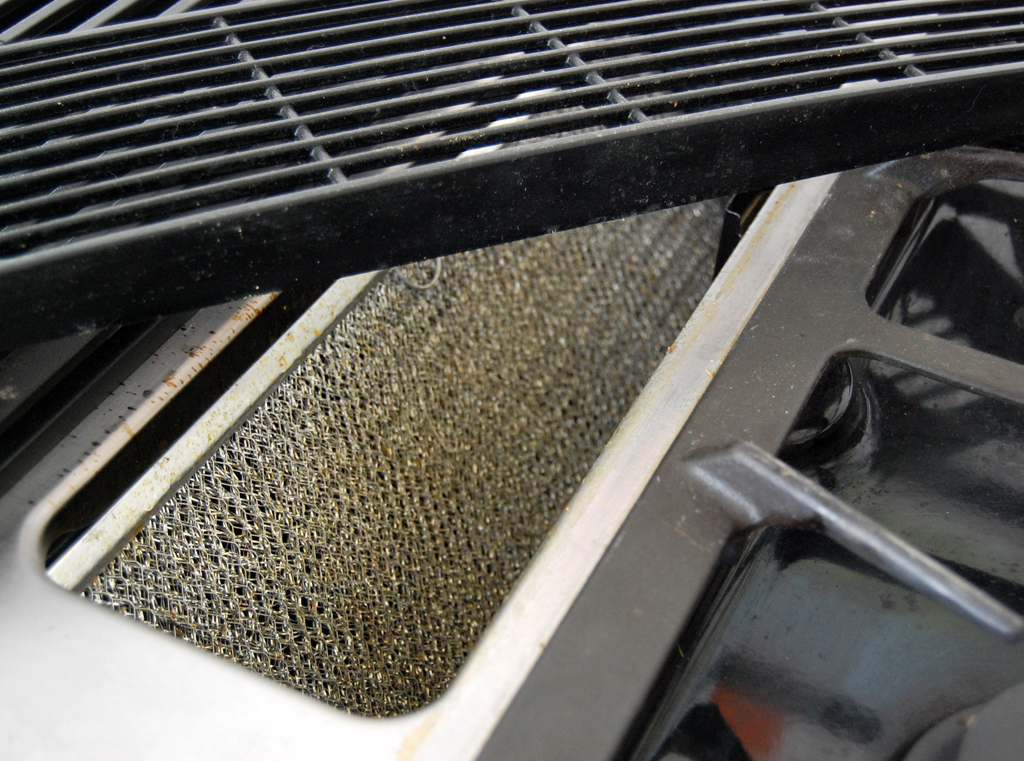
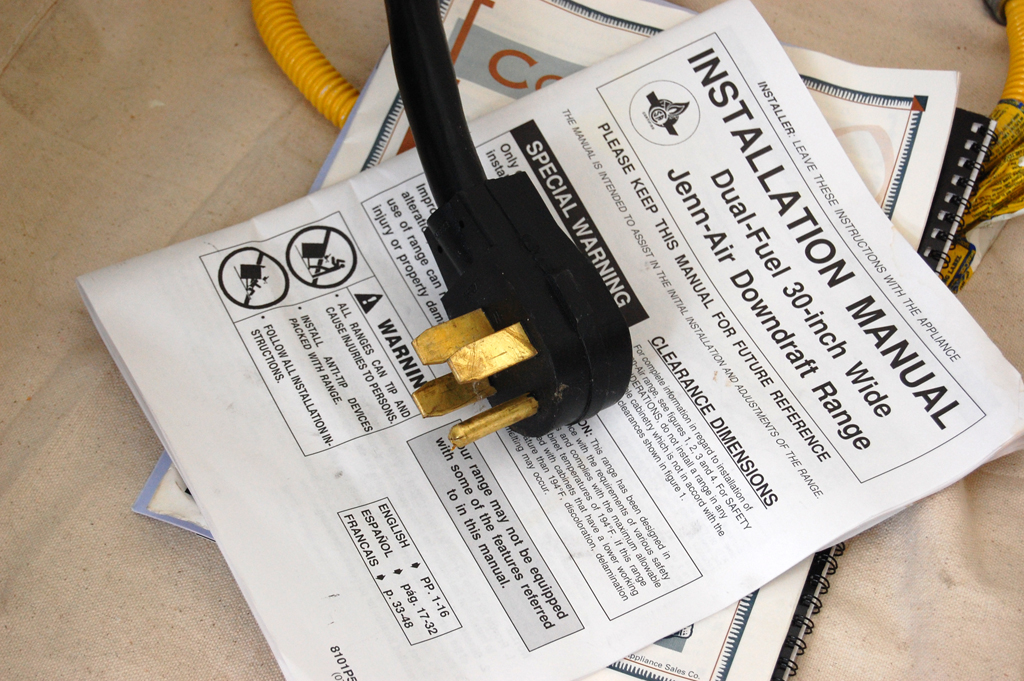
The Jenn-Air range we installed has a grill on the left side.  To keep the smoke from the grilling from overwhelming the kitchen, there is a downdraft vent in the middle of the range.

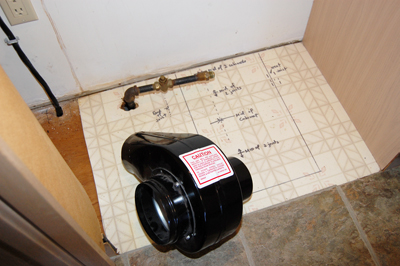
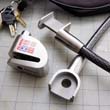
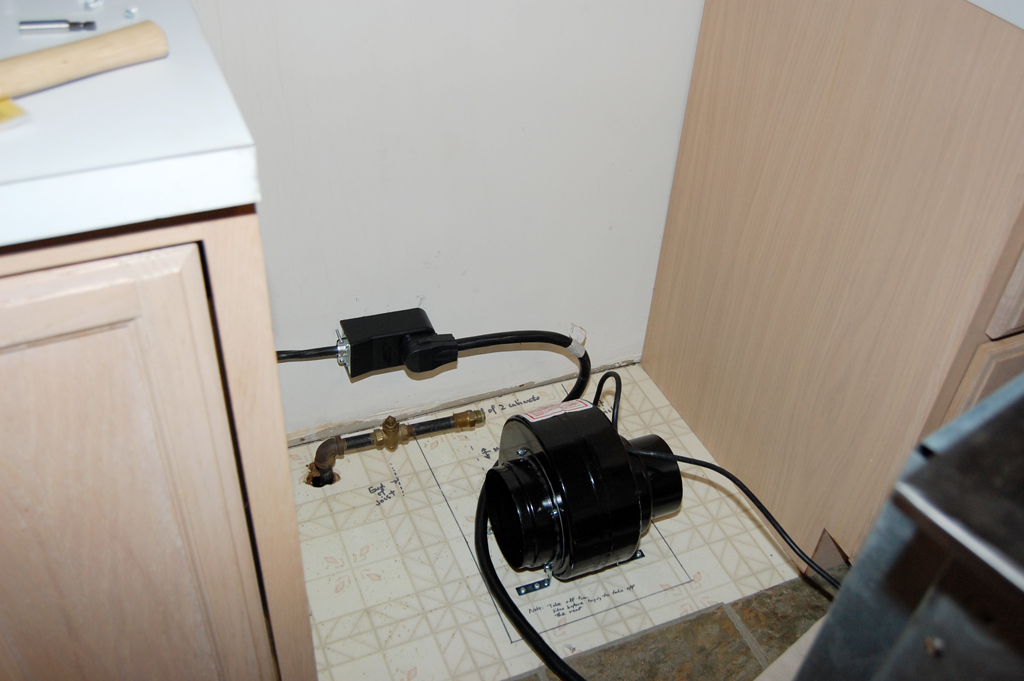
For the vent to work, a blower must be installed to suck the air down and out.  This blower may be installed in a variety of ways.  We chose to place it on the right side of the stove and vent the air down to the basement.

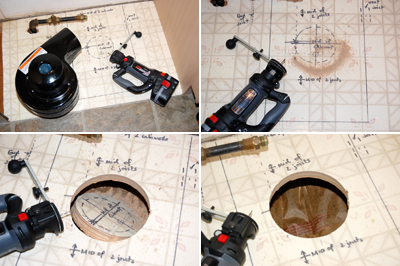
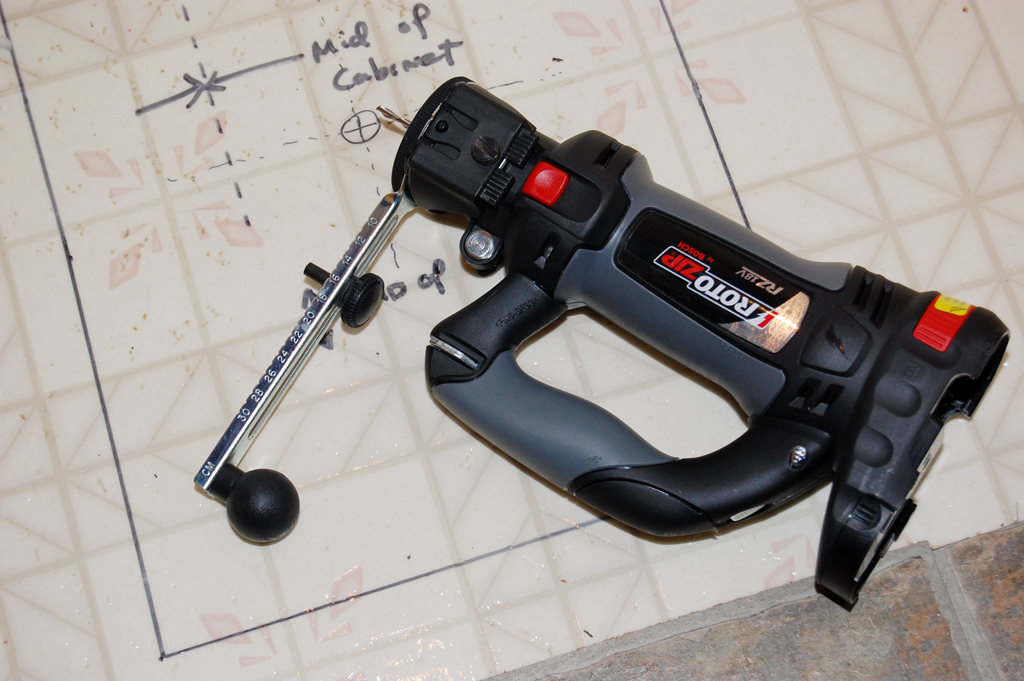
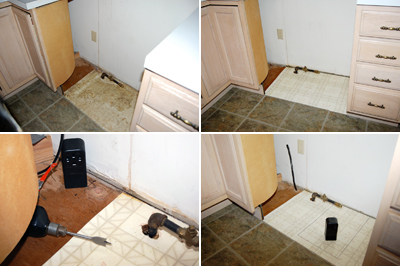
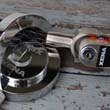
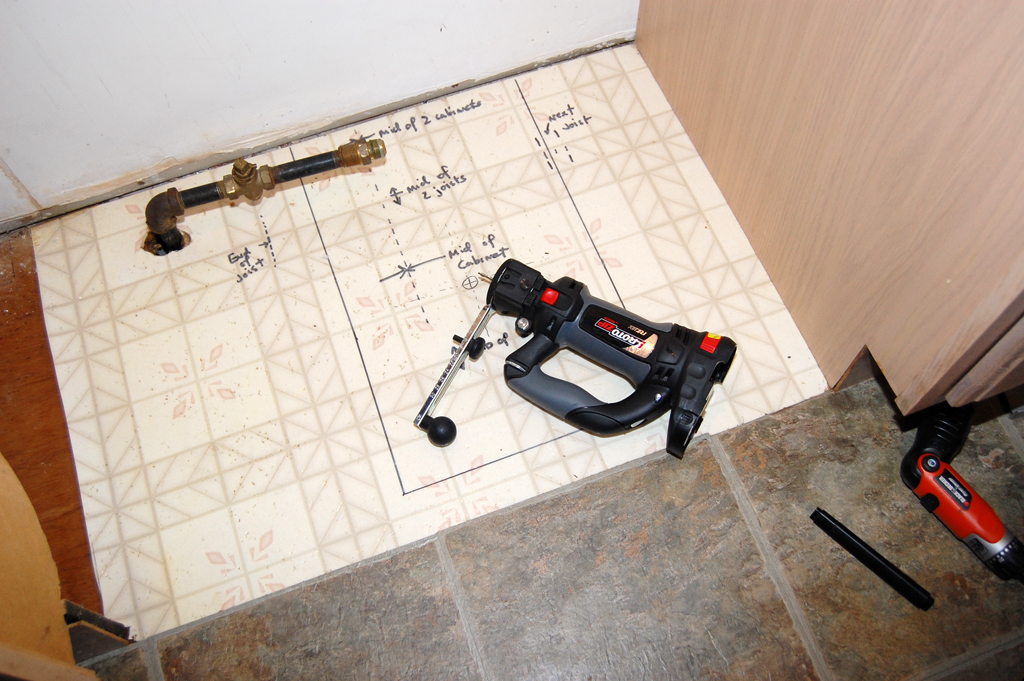
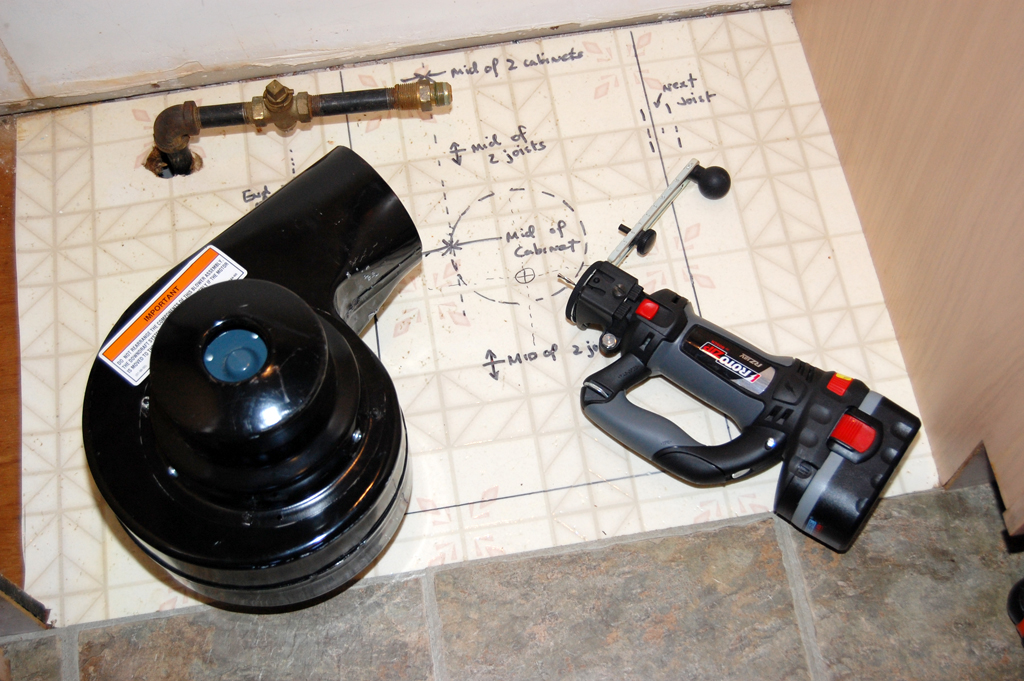
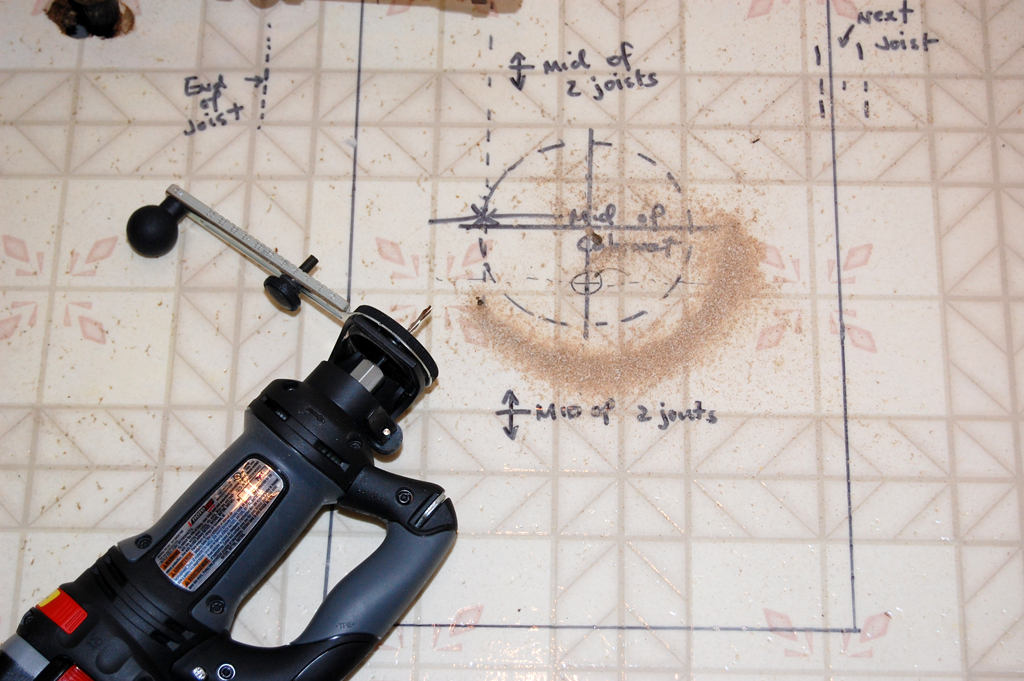
In order to vent the exhaust to the basement, a hole must be cut into the floor.  The installation manual gave VERY explicit dimensions for the bounding box of where the blower may be placed. 

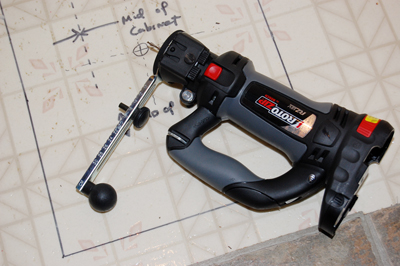
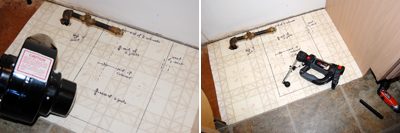
We spent quite a bit of time double checking our measurements before making the first cut.  To make the cut, we used a RotoZip with a circle-cutting attachment.  It was a LOT easier than using than a jigsaw.  The RotoZip is quite an amazing piece of gear.  We have had it for a few years and have always meant to do a more detail write-up on it. 

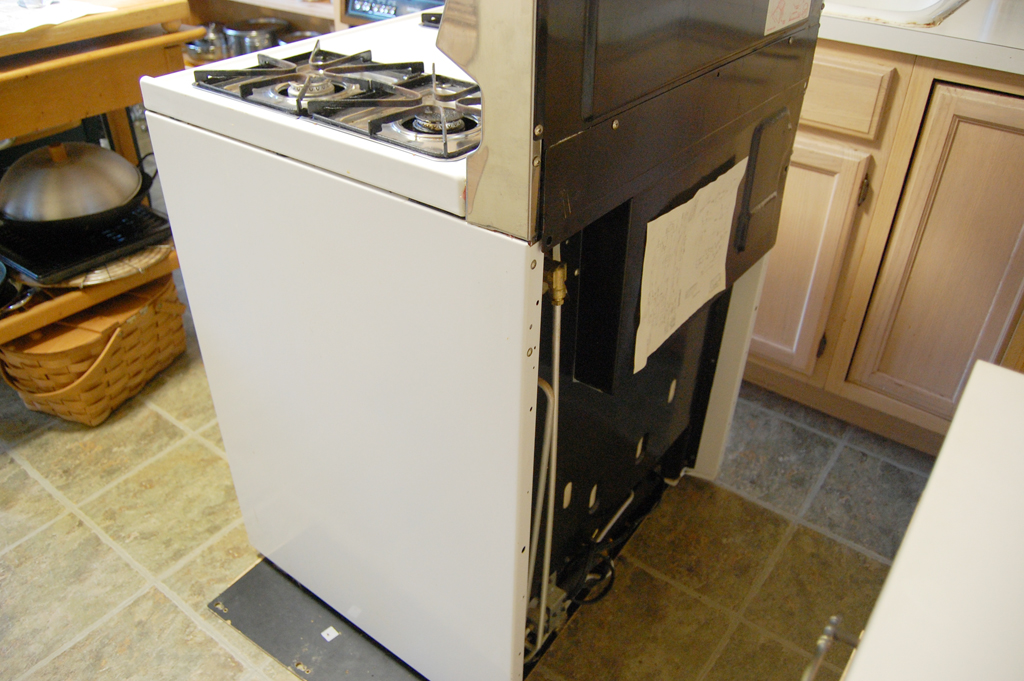
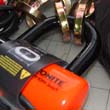
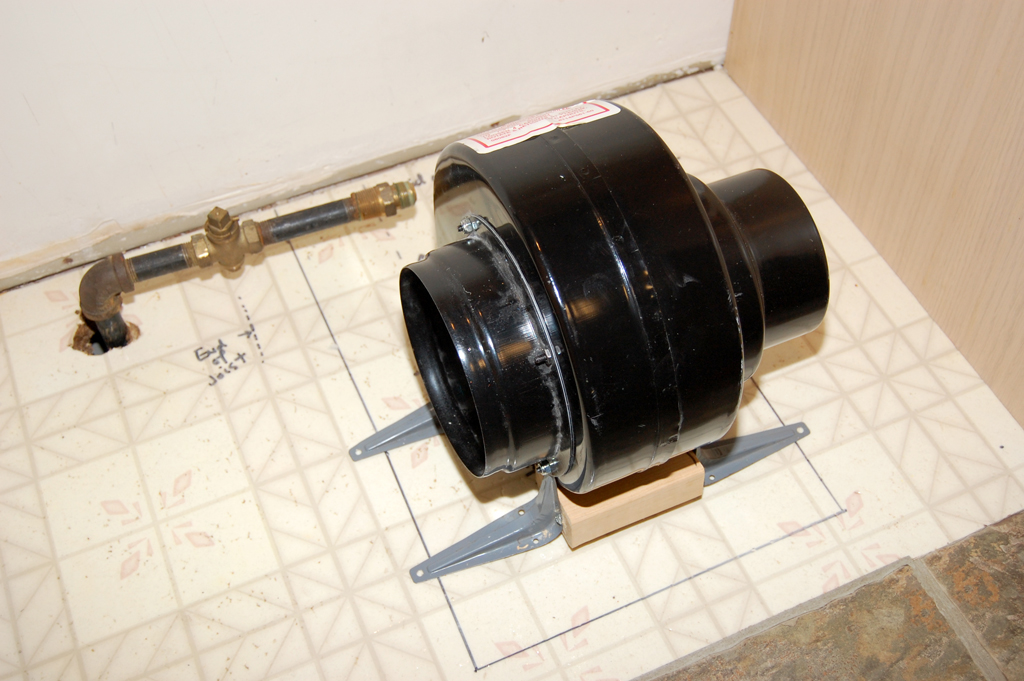
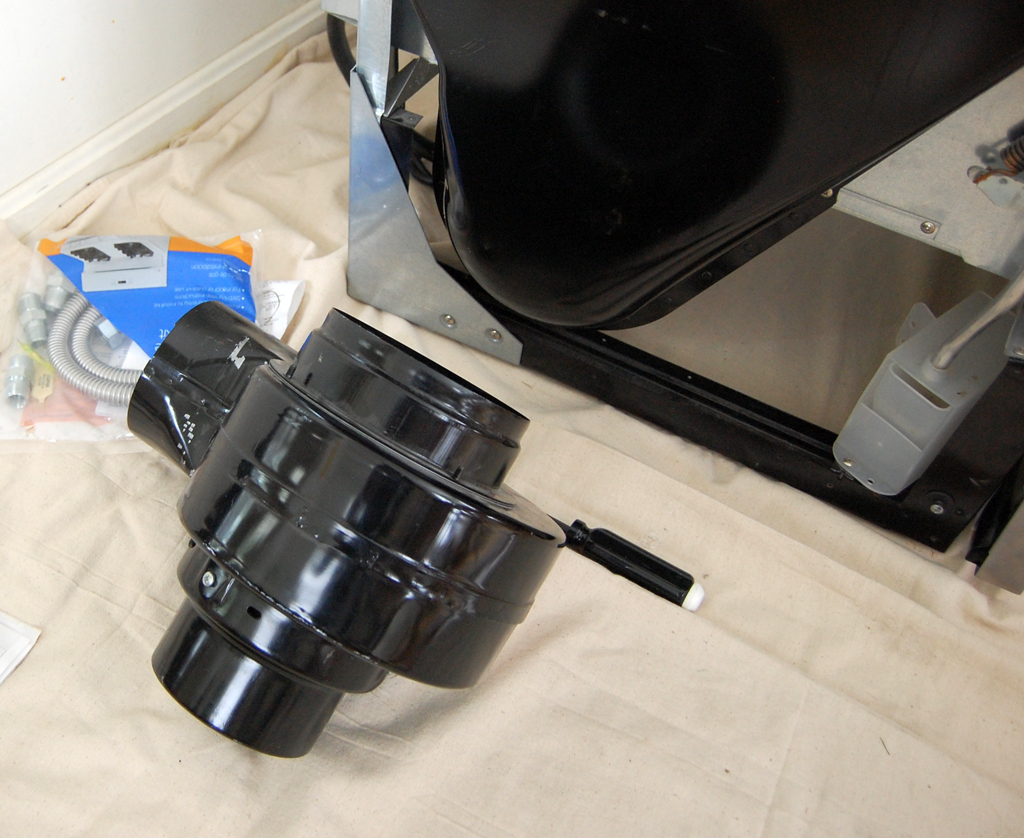
Mounting the blower was more of a challenge, as we realized the mounting brackets were not among the various parts given to us by the seller.  No matter, we came up with a pretty sturdy method using some 3" angle brackets.  However, when we tried moving the stove in, we realized the blower was about 1/2" too high!

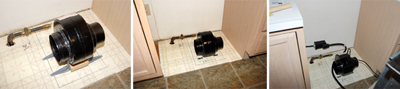
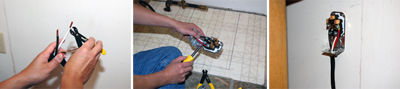
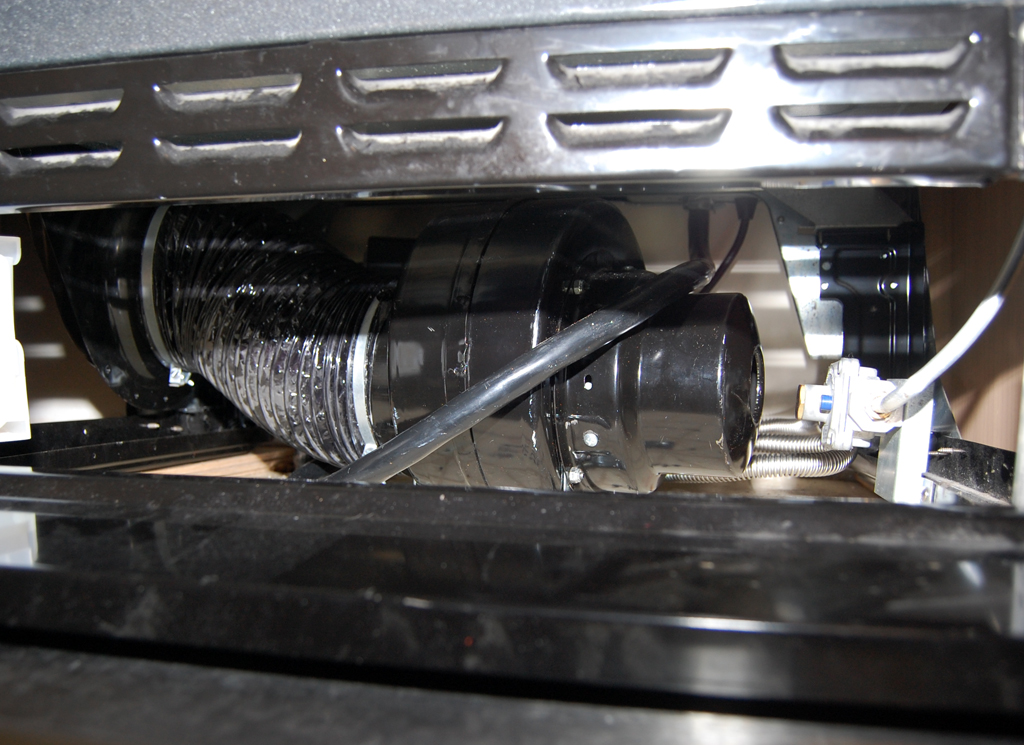
We reworked the mounting using some 2" L brackets and screwed everything down onto the floor.  The blower felt very rigid and did not vibrate at all during our power-on test

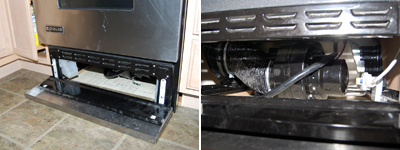
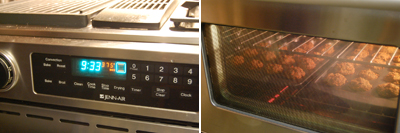
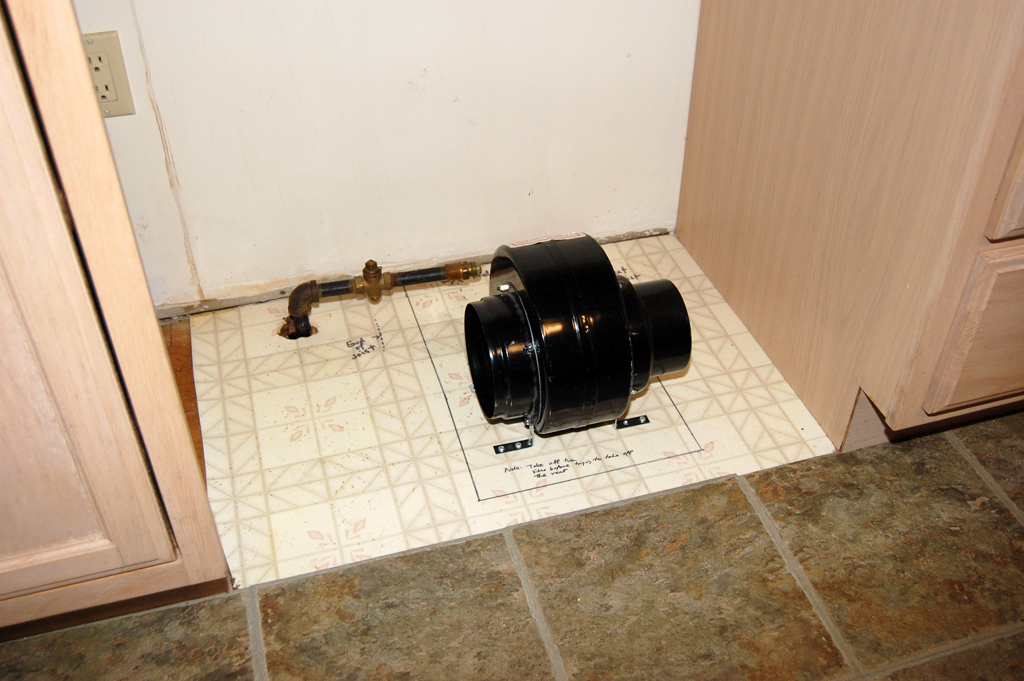
Once the gas line was hooked up and tested for leaks, we moved the stove into place.  Everything fitted nicely underneath.   The last step in this installation was to connect the vent outlet to the blower using the flexible hose.  It took a little bit of crawling around but eventually we got it all attached and working.   [Permalink] - Blower Installation


October 29,2008 (WowUsWednesday)

We almost skipped over this item in our InBox about a really cool display technology demonstrated by Samsung at the 2008 FPD International Show.  In the email was a link and an image of what looked like a print emerging from a really thin printer.  We thought, oh look, they can print on plastic.

Upon closer reading, we realized the image above was of a super-thin (0.05mm) OLED color display.  This Samsung display is so thin that it is flexible!  One of the reasons why it can be so thin is that OLED technology, unlike that of the LCDs used in most flat panel monitors, requires no backlighting.  The OLED pixels themselves can emit light.  Eliminating the backlighting requirement also meant less power requirements (longer battery life, less weight, etc...).  This is going to change things.  [Permalink] - Samsung OLED


October 28,2008 (ReModellingTuesday)

The old stove used gas for the burners and oven.  It had a 120v line to power the timer and the oven light.  The new JennAir is a dual fuel range - the burners use gas, but the oven is electric and needs a 240v line.

The installation of a 240V line should be done by a professional.  However, it is still useful to understand the steps involved.  We saved some money by geting all of the parts from Home Depot.  First determine where the outlet should be installed.  Second, make sure the hole for the cable is not blocked by a floor joist.

Third, strip the wires and attach them to the 240V outlet.  Be sure to note the two hot leads, the neutral wire and the ground wire.  One important point is that a 240V cable is VERY stiff.  Make sure there is plenty of room for bending the cable should you need to place the outlet in a horizontal position.

The last step in this installation is to attach the cable to the electrical panel.  The panel may look confusing, but it is actually very simple.  Two 120V lines from the power company come into the panel and everything taps off these lines. 

The new 240V 50A line required two new breakers to be added to the panel; each hot lead goes into its own breaker, the white neutral line goes into the neutral bar, and the bare copper ground wire goes into the ground bar.

With the 240V outlet installed and tested, we can now complete blower and the gas line installation.  We ran into a few "gotchas" along the way, but nothing our installer could not work around.  The installation was not difficult, but it is definitely not something folks should do if they are not sure what they are doing.   [Permalink] - 240V Outlet Installation


October 27,2008 (ReModellingMonday)

We took advantage of a lull in our schedule this weekend and finished the installation of the Jenn Air range.  We'll have a full write-up of the project this week. 

The project was a little more involved than we had first anticipated (240v outlet, vent installation, etc...), but it was a great learning experience for everybody.

The range has been moved into place.  Both the gas and electricity are connected and working.  We still have to make the backsplash and complete the venting to the outside.  Those side projects will be tackled as time permits.

We are expecting a whole group of LA transplants to be joining us for the Thanksgiving feast.  The rumor is the RainyDayKitchen folks will be cooking a turducken (there's another, more insidious, rumor that they are thinking about cooking a Tofukey as well).  Whatever happens on Thanksgiving, it will likely be a good test of the Jenn Air's convection feature.  [Permalink] - Jenn Air Installation


[Dec] [Nov] [Oct] [Sep] [Aug] [Jul]

[Jun] [May] [Apr] [Mar] [Feb] [Jan]

....... 2007 ......

[Dec] [Nov] [Oct] [Sep] [Aug] [Jul]

[Jun] [May] [Apr] [Mar] [Feb] [Jan]

....... 2006 .......

[Dec] [Nov] [Oct] [Sep] [Aug] [Jul]

[Jun] [May] [Apr] [Mar] [Feb] [Jan]

....... 2005 .......

[Dec] [Nov] [Oct] [Sep] [Aug] [Jul]

[Jun] [May] [Apr] [Mar] [Feb] [Jan]

....... 2004 .......

[Dec] [Nov] [Oct] [Sep]


Featured Review*

Fresh Coffee


RainyDayBuzz*
   
 
GET GEAR*


Rainy Day Magazine is a Publication of Rainy Day Entertainment© 2008
case label case and battery battery in case battery bottom power check inverter side