| Today |
| Workshops |
| Audio/Video |
| Electronics |
| Carputer |
| Misc |
| Other Garages |
| Contact Us |
| RainyDayGarage... |
||
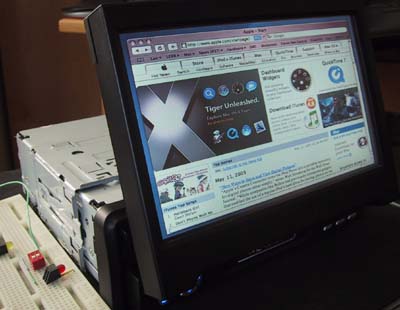
We wanted to minimize the amount of steps/devices between the user and the Carputer. We decided early on that a touchscreen was a requirement for this project. The 700M Panasonic motorized LCD panel from Digital Worldwide satisfied all of our video input requirements and has a touchscreen built into the display.
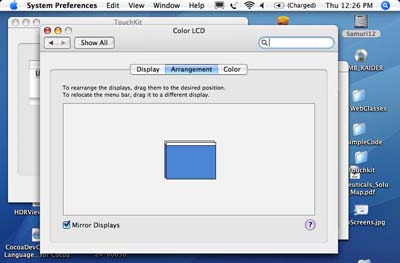
The initial setup for hardware testing was completed in about 20 minutes. We spent the next few hours playing with the various video and computer input options. Everything appeared to work properly. Today we needed to take the next step... testing the touchscreen function. To be able to interact with the screen directly will make the carputer much easier to use ...especially inside something as "fitted" as the Boxster. We took a look at the contents of the CDROM that came with the unit. Most of the TouchKit drivers were for Windows (98 - XP). There were some drivers for the Mac, but they were all for OS9... we were a little skeptical that we would able to get this working today. Before we started with the installation, we put the Mac's display into "mirrored screen" mode. This just meant both the Mac laptop's screen and the 700M screen are showing the same thing. If the touchscreen is working, theoretically this mode should let us control the Mac with either the 700M's touchscreen or the laptop's trackpad.
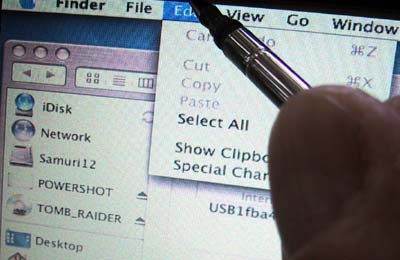
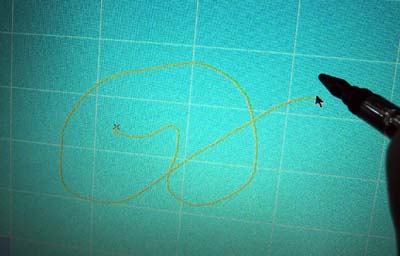
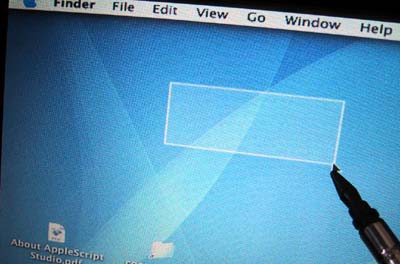
We clicked on the "4 pts Cal" button and fumbled around with the calibration software for a while before we figured out what it wanted from us. There were no prompts of any kind...just a message that said "Please touch the blinking symbol". What they didn't say was to "keep TAPPING" until the input has been recognized. Just touching the symbol will cause the calibration to time out. Once done with the calibration, the software has a quick "Draw Test" that let you see how the screen coordinates are mapping to where you had placed the stylus. In this case, one can clearly see that the cursor is mapping to quite a bit lower than the position of the stylus.
For our application, the 4 Pts Cal was not sufficiently accurate. We were not able to get the cursor to the very top of the screen to select any of the menu items... a bit of a problem :-) We then tried the Advanced 25 Pts Cal. This calibration resulted in a much more precise screen coordinate mapping. We had no trouble getting at the small icons and other bits on the screen.
While not totally painless, this driver installation was a lot simplier than we had thought... we have to give some credit to eGalax for having an up-to-date driver for the Mac OS X 10.4 Tiger! |
Carputer Screen: USB Touchscreen Driver Software installation (OSX 10.4 Tiger) |
|
When we got the LCD screen for the Boxster project, we needed to test it with a variety of input signals. We thought it would be useful to document the process and share it with our RainyDayGarage readers! You are welcome to follow along on this project as we go from Design to Installation. The Touchscreen portion of this Carputer project is divided into: The CPU segment of this Carputer project are divided into:
Project Summary: Touchscreen USB driver installation (OS X) 1. Difficulty - Medium 2. Time - 40 minutes 3. Tools - USB cable, OS X driver. 4. Cost - none NOTE: The driver software's calibration tools are not the most intuitive, but they do appear to work. |
||
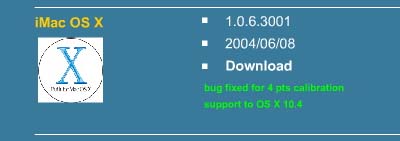
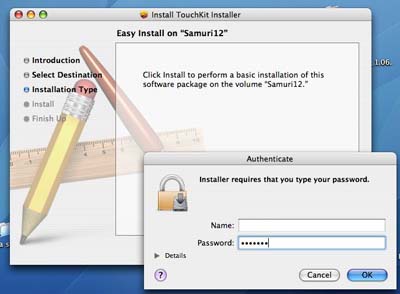 We downloaded, decompressed, and installed the driver software using their EasyInstall option. All pretty much standard Mac OS X steps.
 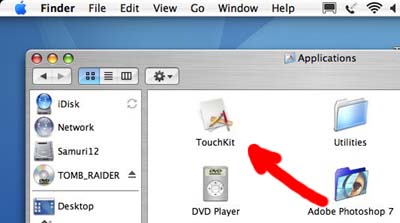 After the installation, the user is usually prompted with something... like what's been installed or what to do next. Well, in this case, nothing. We weren't sure what should happen next... so we went looking. We found the installer had put an application called TouchKit in the Apps folder. Launching the TouchKit app got us what we were looking for.
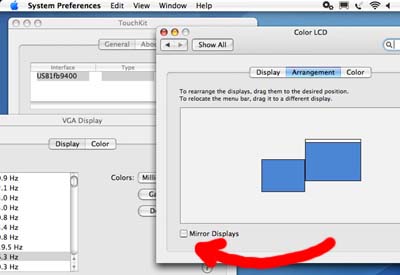
 The software ran fine. However, the device that showed up was missing some info (left screen). We didn't think much of it and went about doing the various calibrations. Unfortunately, the screen refused to respond. After about 15 minutes of not getting anywhere, our intern, Buffy, said maybe we should try re-installing the driver...a good call! After the re-install, the "Type" and "Version" sections (right screen) had more info... promising! Touching the screen with the stylus got a response! It's alive, the mapping was way off...but ALIVE!!!
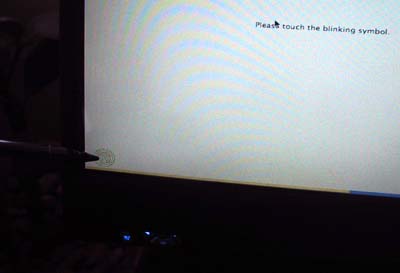
 The mapping is still a little bit off, but precise enough for now. Besides, we'll have to do this again for the Mac Mini anyway.