| Today |
| Workshops |
| Audio/Video |
| Electronics |
| Carputer |
| Misc |
| Other Garages |
| Contact Us |
| RainyDayGarage... |
||
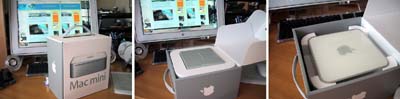
The design of Apple's products had alway extended to include the packaging... which made every one of them a pleasure to unpack.
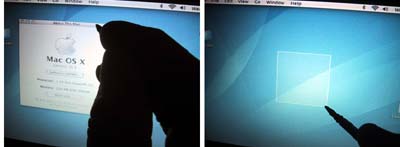
As can be seen in the series above, the Mac mini is small, not much bigger than a hardcover book, and not much heavier. We purchased the base unit (256 MB RAM, 40 Gig HD, 1.2 GigHertz CPU) with an Airport card installed. This unit is totally self contained, but to use it you will need to add a display, keyboard, and mouse.
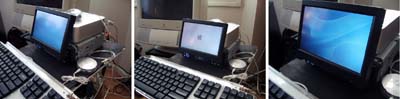
The unit is ready to go out of the box. We had no problems connecting it to the DWW 700M LCD display. Mac OS X 10.3 was already installed. The unit also came with a 10.4 Tiger upgrade CD. We did a minimal Tiger install (no printer drivers, no extra languages) and deleted all of the extra apps (iDVD, Garageband, iPhoto, Quicken, etc...) that we will not need for the carputer project. After the setup was completed, we had about 32 GB of free space on the internal drive.
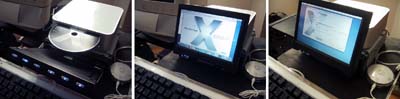
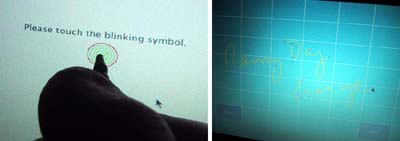
We transferred the necessary carputer apps and data (iSpeech, iTunes library) by directly connecting the Mac mini to our G4 desktop box via FireWire. Once everything checked out properly on the Mac mini (WiFi, iTunes, web access, etc...) we installed the TouchKit drivers and calibrated the 700M screen.
We did notice a few screen related issues with the Mac mini. 1. The calibration settings for the screen seems to disappear when we totally remove power to the 700M. Recalibration was needed. 2. The 700M became none responsive (remote control issued commands and front panel buttons for "tile" and "close" were ignored) when the Mac mini was put into sleep mode. We were still able to change video sources. We will be looking into changing the display characteristics to use 800x480 as per MacVroom. |
Apple Mac Mini Setup |
|
When we got the LCD screen for the Boxster project, we tested it with a G3 laptop for several weeks. Today, we got the Mac mini and we thought it would be useful to document the setup process and share it with our RainyDayGarage readers! You are welcome to follow along on the entire Porsche Boxster Carputer project as we go from Design to Installation. The Mac mini portion of this Carputer project is divided into:
Other segments of Carputer project: Project Summary: Mac mini Setup 1. Difficulty - Easy 2. Time - 30 min (setup), 1 hrs (test) 3. Tools - LCD screen, keyboard, mouse. 4. Cost - $600 (with Airport card)
Other segments of Carputer project:
|
||