| Today |
| Carolyn's World |
| Gear & Gadgets |
| Garage |
| Garden |
| Kitchen |
| Unaccompanied Minors |
| Workshops |
| Contact Us |
| Index |
| RainyDayProjects... |
||
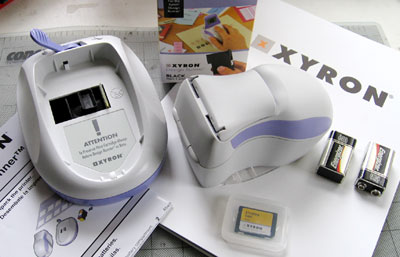
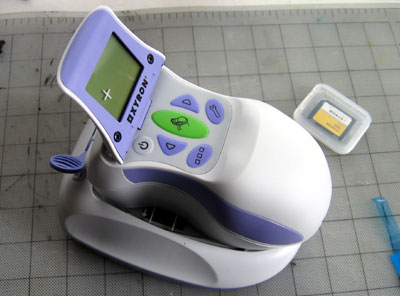
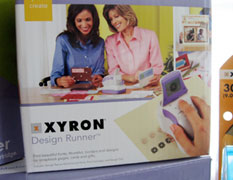
The Xyron Design Runner is a hand-held printer specifically made to let crafters print wherever they want. The unit is lightweight, battery-powered, and about the size of a really large mouse... computer or otherwise.
Images, text, and designs are loaded into the printer via proprietary DesignRunner Discs. The discs are the exact size of a normal SD card, but they are not standard SD cards.
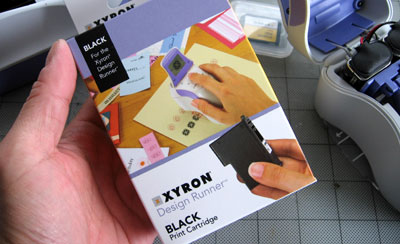
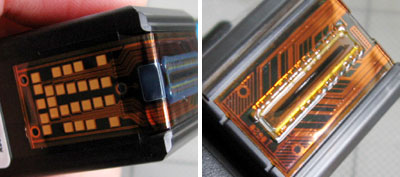
They cannot be read by standard SD card readers, which means we cannot use what we already have to bring data over to the Design Runner. We can understand the business model, but it is a bit of a bummer that we can't just upload our own designs using a standard SD card. Xyron is pretty responsive to their customers and we hope future versions will incorporate a standard interface. Wouldn't it be great to be able to just take the SD card from your digital camera and print a pattern with this printer? The Design Runner appears to use bubble jet technology for printing. The print head and ink cartridge are combined into a single disposable unit. There are several advantages to this approach, one being you get a fresh print head everytime you change the cartridge. The other is that it allows for a much more compact design.
As explained by How Stuff Works: "In a bubble jet printer, tiny resistors create heat, and this heat vaporizes ink to create a bubble. The expansion that creates the bubble causes a droplet to form and eject from the print head. A typical bubble jet print head has 64 or 128 tiny nozzles, and all of them can fire a droplet simultaneously." The power to the Design Runner is supplied by two 9V batteries. Here is a little tip for installing the batteries...put the batteries in the compartment THEN attach the connectors :-) The wires were kept short so it does not take up extra room. Trying to put the batteries in afterwards is a lot more difficult.
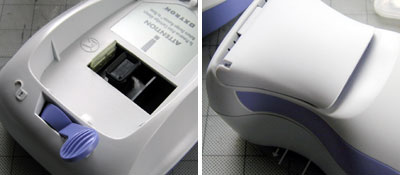
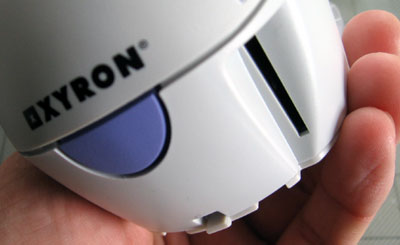
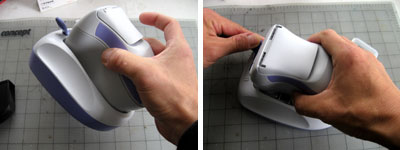
Inserting the print head/ink cartridge was easy. It slips into the opening and is locked into place by the purple cover. The print head is exposed on the bottom so do be careful where you place the printer when not in use. In fact, it really should be placed back on the base. To remove the printer from the base, just slide the release lever to the right and lift the unit.
We really like the compact design and the ergonomic feel of this Design Runner. We don't yet know much about this world of scrapbooking, but we LOVE tech gear. It appears there is some pretty cool stuff being made for this market. So expect to read a LOT more about this whole scrapbooking thing in the coming weeks! |
Xyron Design Runner |
|
We are not entirely new to printers and printing technologies. Products like the Xyron Design Runner is, when striped down to its basic function, a printer. It is a well designed printer, especially for its target market. It also appears to be EXTREMELY easy and intuitive to use. So easy that it will most likely pass the "My Own Mother"-- MOM for short -- test.
In the FirstLook review, we will take a look at this hand-held printer and all its parts. In the FirstUse review, we'll see just how easy this thing is to use. In fact, we are not going to bother reading the directions and see if we can figure out how to print just by looking at the buttons and the on-screen icons :-) Review: 1. FirstLook 2. FirstUse Usually we don't write things up until we are done, but we have been getting requests from you, our readers, to post them as they progress...so here it is :-) Send us questions, comments and suggestion as you see fit. Review Summary: Initial Impression- Simple Usability- hand-held, ergonomic Durability- test in progress Price- $150
 Click to join RainyDayProjects |
||

