| Today |
| Workshops |
| Color/Tone |
| Enhance |
| Crop/Resize |
| Special Effects |
| Printing |
| Cases |
| Scanners |
| Video |
| Misc Gear |
| Other Photographers |
| Contact Us |
| RainyDayPhotography... |
||
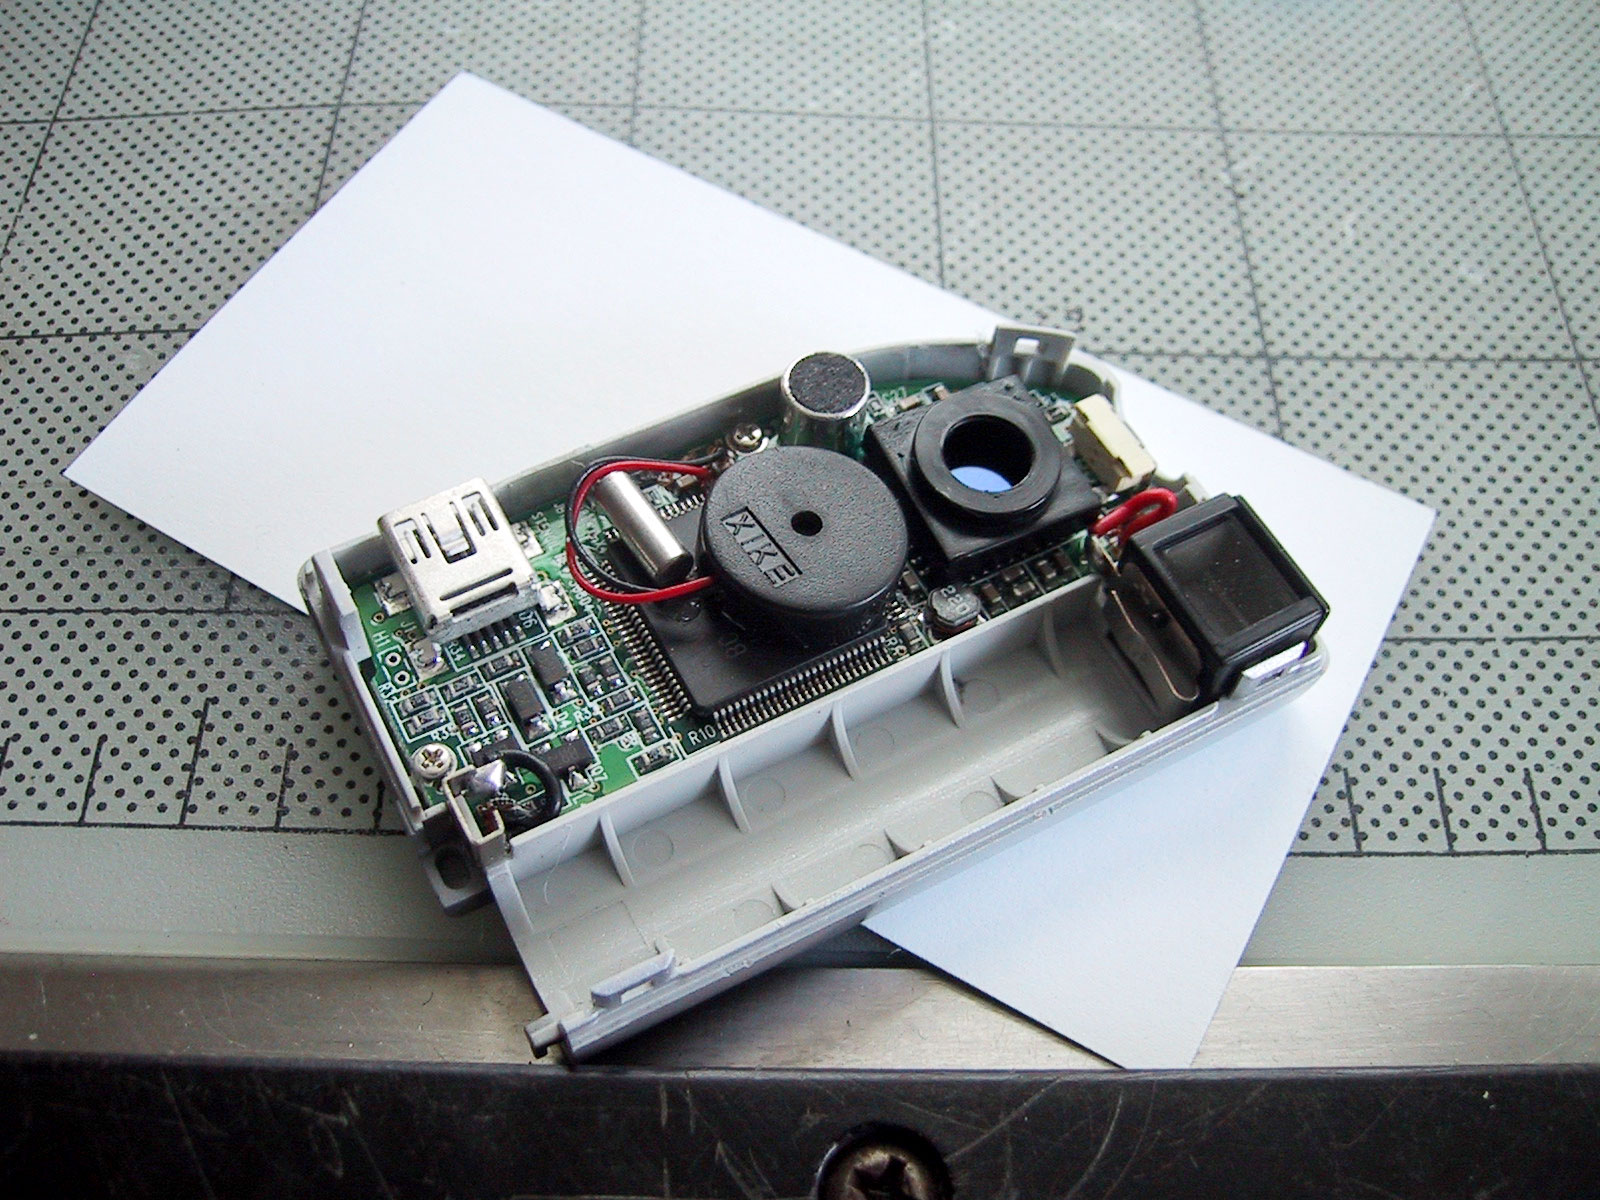
Once the gels have been cut to size, it was time to put everything back together. Reassembly was pretty simple. The trickiest part was making sure no dust got on the gels. Any speck will appear HUGE in the image...so care here was very important.
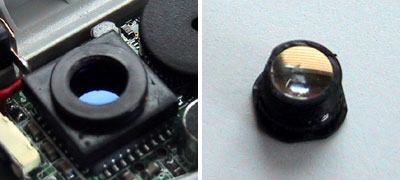
Once the gels were properly stacked and the lens mount reattached (hot glue gun is really useful for this), then it was time to screw on the reassembled lens.
The unit snapped back together quite easily. We reinserted the single screw which held the unit close and the reassembly was basically complete. This does not mean we are done. The focus of the lens still needs to be adjusted.
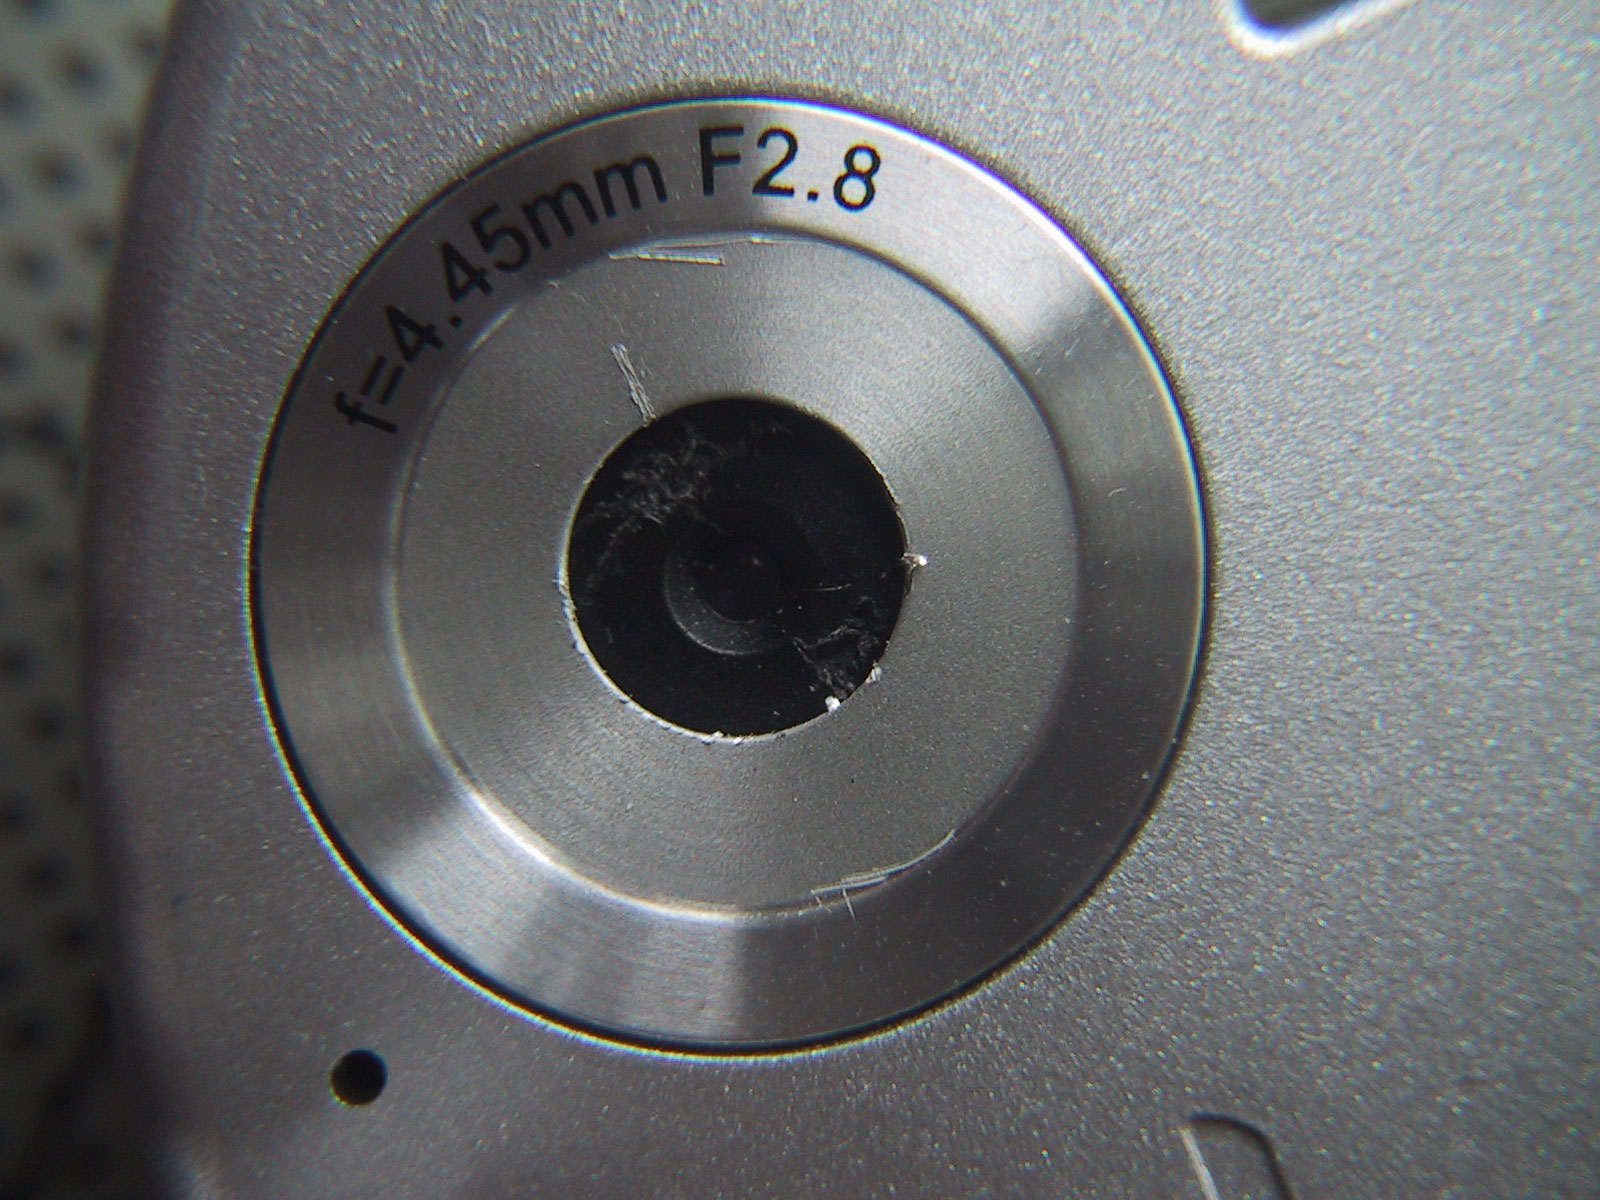
The simplest way was by trial and error. We made a mark (red arrow) on the outside of the case. We carefully pushed the lens using a small screw driver to adjust the focus...see the photo examples here.
Once the focus was to our satisfaction, we notched the plastic so we would have a reference should we decide to play with it some more later. It is now time to go see what kind of images we can get with the new IR JB 1! |
Digital Infrared Photography on A Budget
|
|
We had known that CCDs were sensitive to infrared (remember the Sony camcorders that could shoot through clothing?) and that most have an IR filter to block the light. Recently we read an article on MAKE magazine about how to convert a cheap digital camera into an infrared digital camera by Zach Stern. Zach's beautiful photos inspired us to give the project a try.
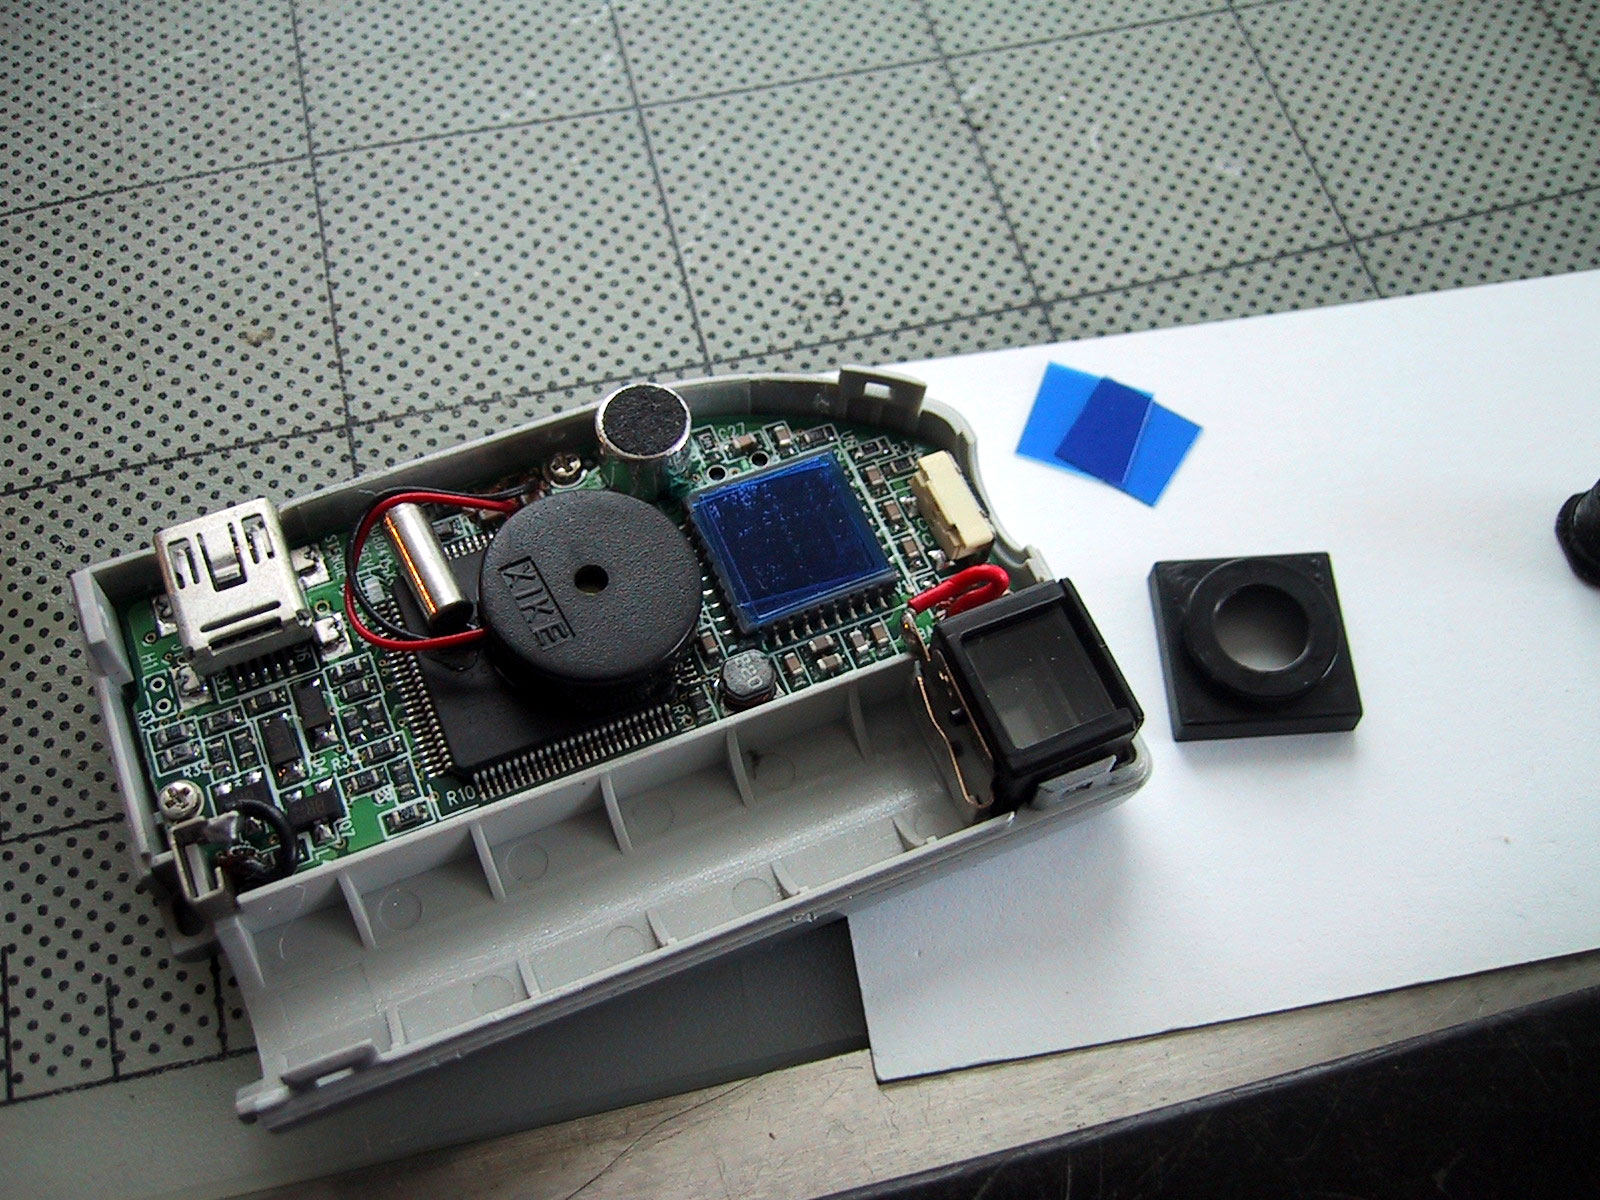
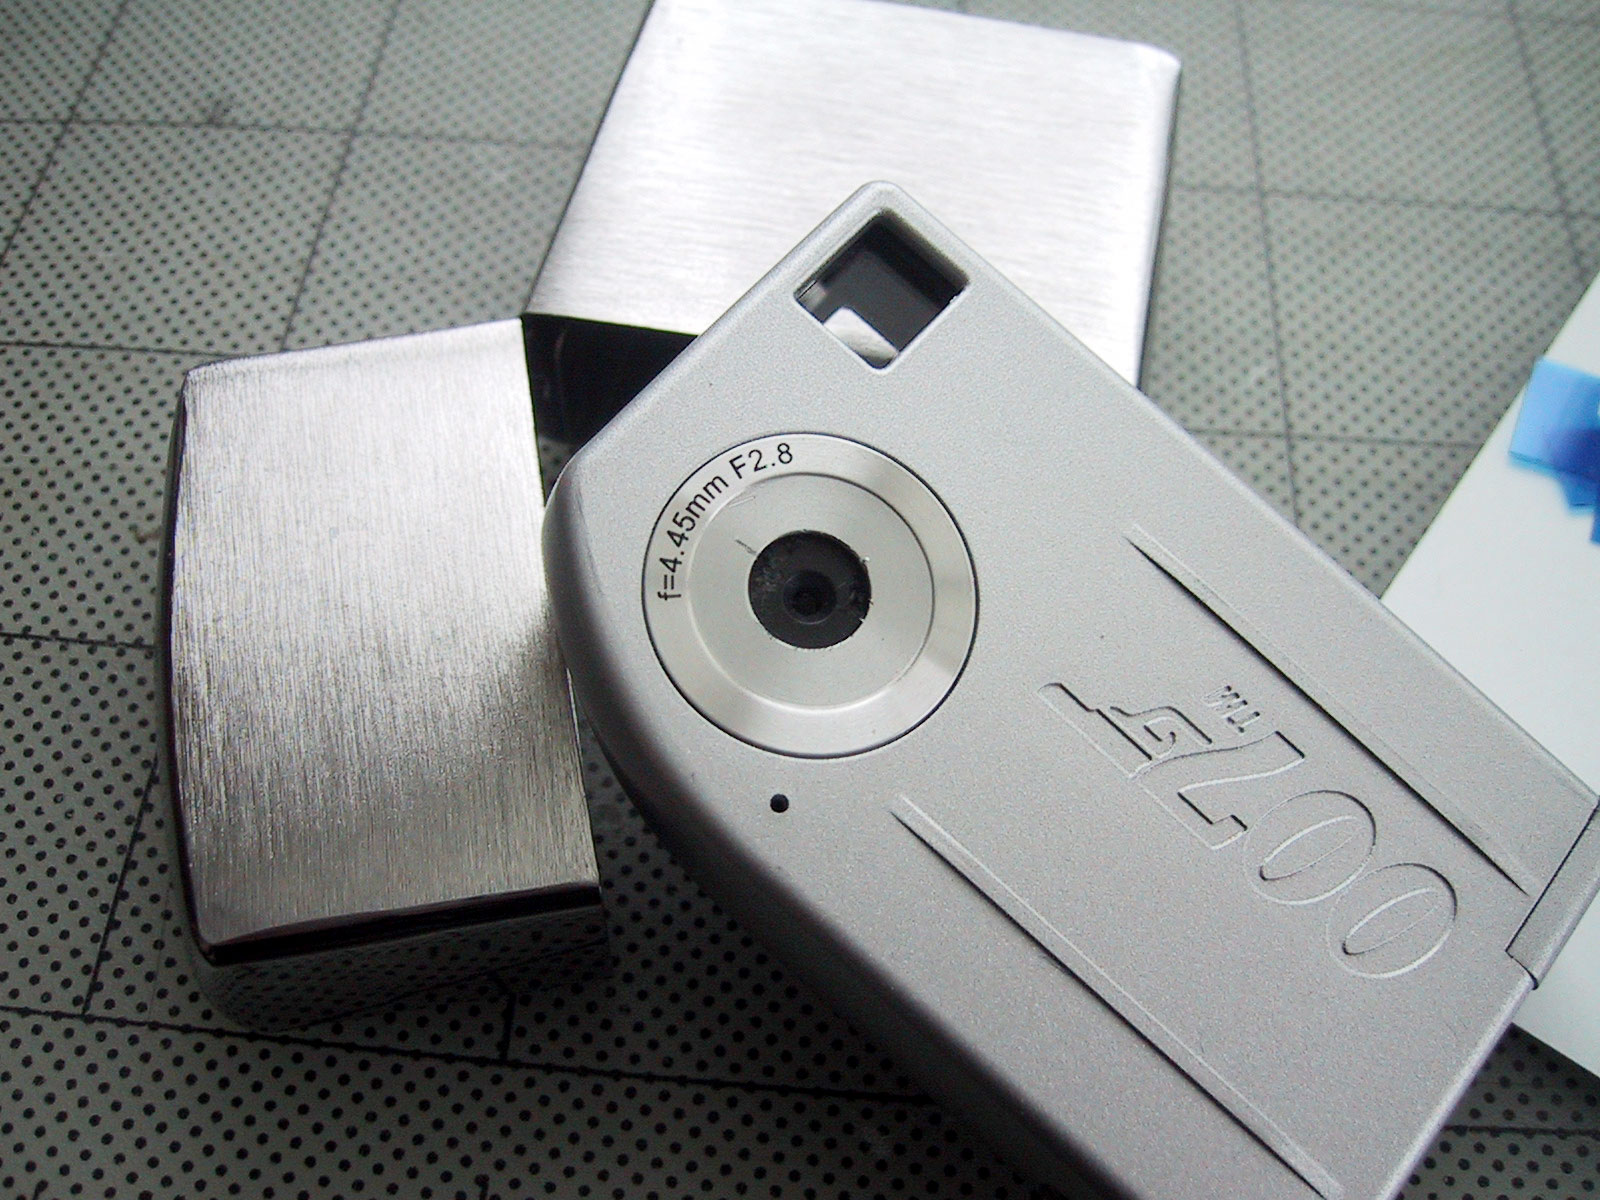
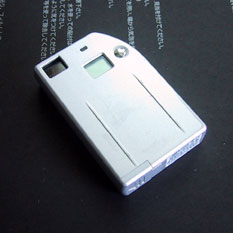
We decided to take our little JB1 stealth camera and see if we can turn it into an IR sensitive stealth camera, better to detect the body heat of that agent hiding in the foliage :-)
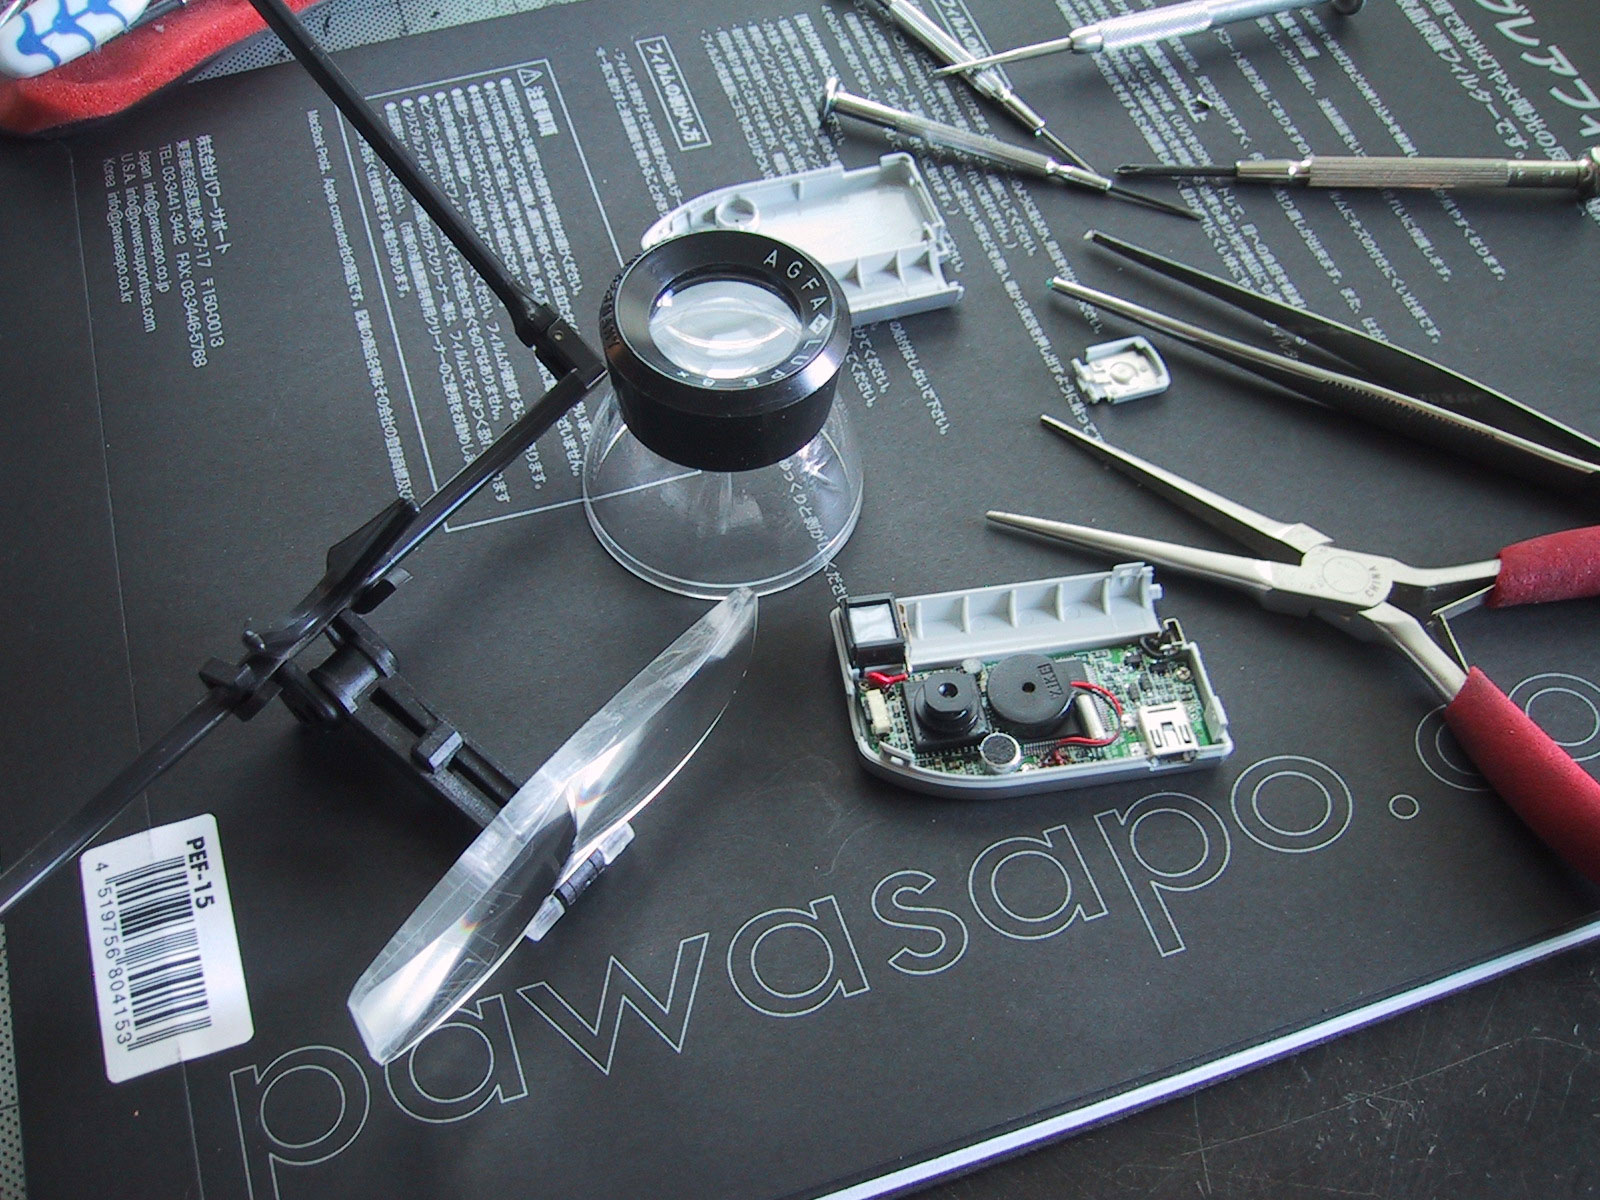
The results were surprisingly good for this little camera. We have attached larger images to most of the photos in this article. Just click on the ones of interest to see the big version. Project: 1. Dissassembly 2. Remove IR coating/Make filter
Project Summary: Initial Impression- need to disassemble camera Usability- daylight shots only Durability- no moving parts Price- $10 Related Review: Related Project: 1. Wide angle lens on a budget
|
||