
| Today |
| Workshops |
| Color/Tone |
| Enhance |
| Crop/Resize |
| Special Effects |
| Printing |
| Cases |
| Scanners |
| Video |
| Misc Gear |
| Other Photographers |
| Contact Us |
| RainyDayPhotography... |
||
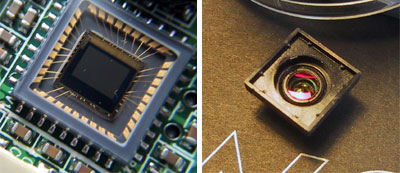
Above are two close-up shots of the sensor array (CCD, optical lens). The CCD image was taken using our handy Macro trick described in an earlier project.
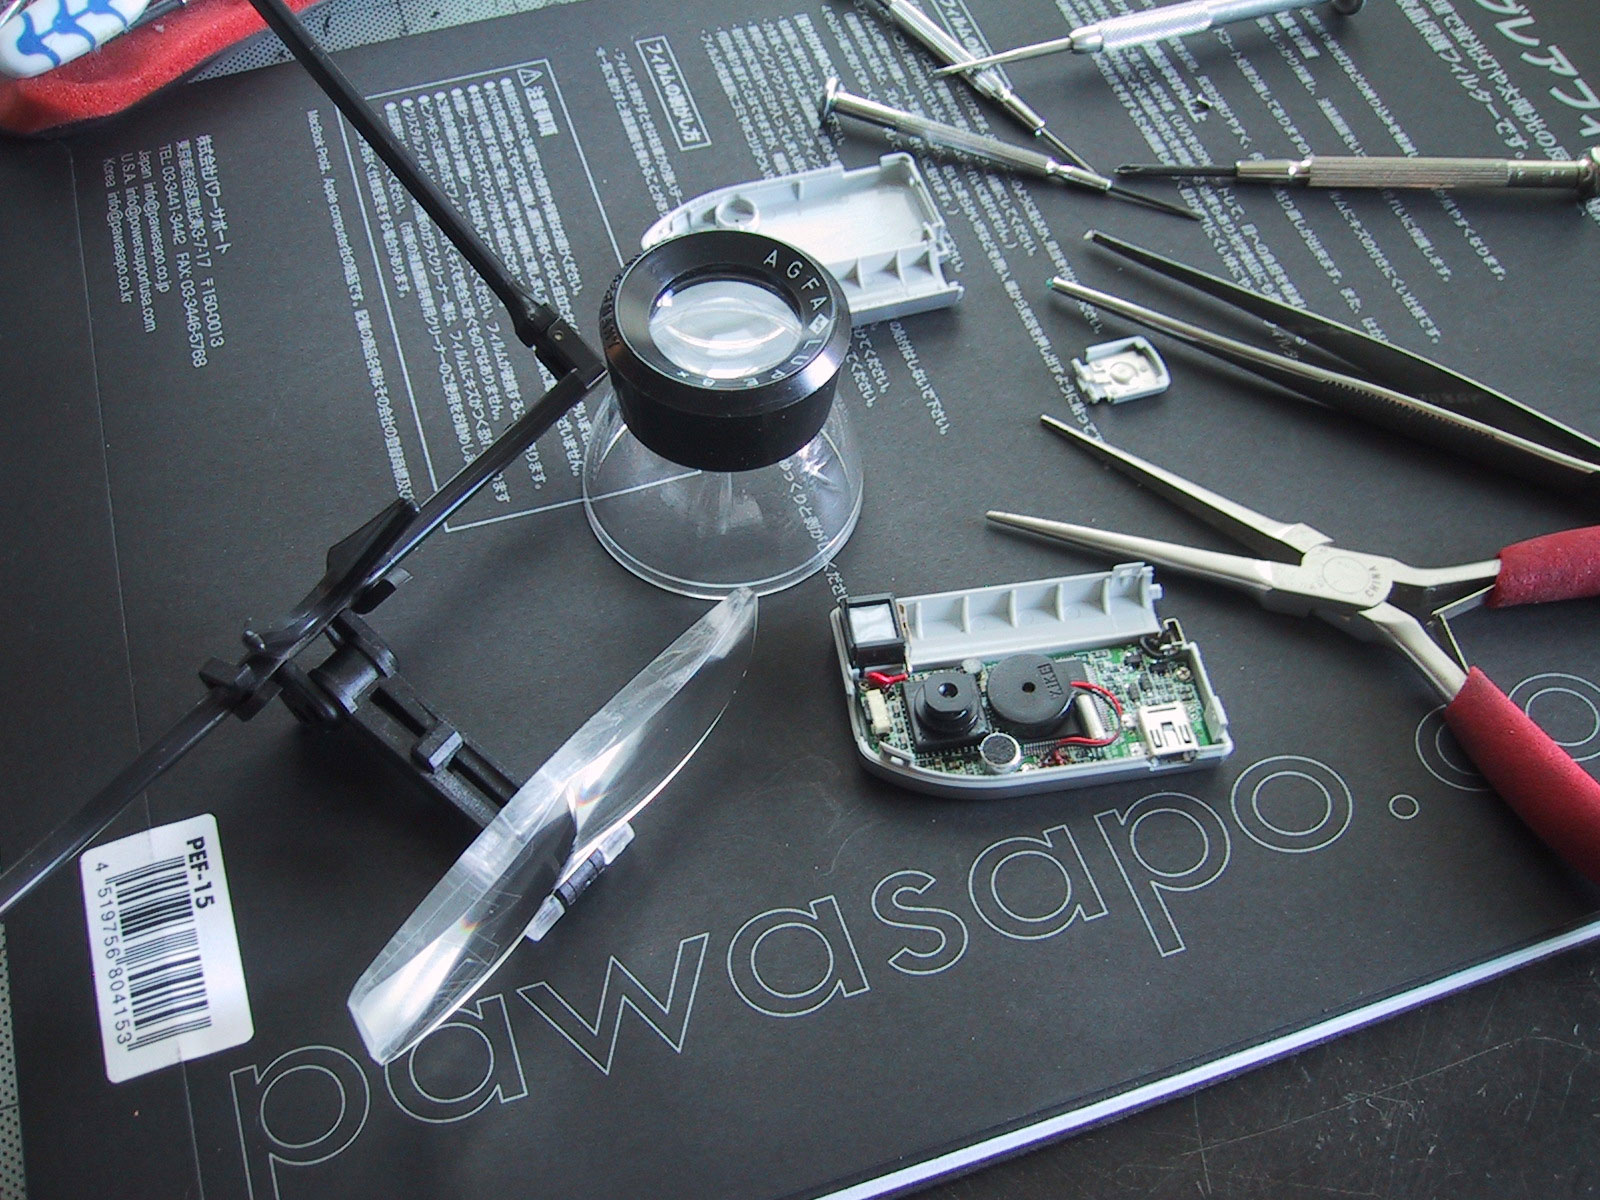
Unlike Zack's project, the JB-1 did not have a separate IR filter. The IR filtering was done by a coating which was on the lens itself. This meant we had to scrape the coating off. Our new LoggerHead Immix was the perfect tool for holding the lens in place while we worked! BTW, it is a good idea to cover the CCD to keep dust off the sensor.
We we got the top layer cleaned off with the x-acto blade, we still saw some red reflected... which meant there was a coating on the other side as well. This required us to cut the lens out of the housing to clean the other sided.
Here are a few images of the lens after scraping and washing. Since the lens was made of glass (a big surprise), it held up remarkably well to all of the abuse!!! Since it was Labor Day, most of the photography stores were closed. This is when being a pack-rat has its advantages. 15 years ago, we went to a Hunt's photography show where we picked up a sample of filters from Wess Plastic. Amazingly enough, we were able to actually find it in a parts bin...after a bit of searching :-)
One square was enough to make all of the filters we needed. The plastic scratches pretty easily. We found the best way to cut them was to cover the surface with a piece of paper, press, and cut along a hard edge.
The filters does not have to be exactly the same size, just large enough to cover the lens opening. We picked the best six we had, made sure they were dust free, and stacked them in the mount. We are now ready to reassemble the camera and see if we can get this thing to work. UPDATE: We just got this incredible sample pack from Lee Filters. The sample pack has a few hundred different color gels, each with a listing of their associated spectral characteristics.
It will be an interesting project to try some of these filters to see how they would affect the images from the camera. |
Digital Infrared Photography on A Budget |
|
We had known that CCDs were sensitive to infrared (remember the Sony camcorders that could shoot through clothing?) and that most have an IR filter to block the light. Recently we read an article on MAKE magazine about how to convert a cheap digital camera into an infrared digital camera by Zach Stern. Zach's beautiful photos inspired us to give the project a try.
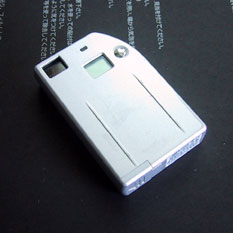
We decided to take our little JB1 stealth camera and see if we can turn it into an IR sensitive stealth camera, better to detect the body heat of that agent hiding in the foliage :-)
The results were surprisingly good for this little camera. We have attached larger images to most of the photos in this article. Just click on the ones of interest to see the big version. Project: 1. Dissassembly 2. Remove IR coating/Make filter Project Summary: Initial Impression- need to disassemble camera Usability- daylight shots only Durability- no moving parts Price- $10 and an afternoon Related Review: Related Project: 1. Wide angle lens on a budget
|
||


