| TODAY |
| RainyDayKitchen |
| Food & Drink |
| Gadgets |
| Recipes |
| Misc |
| Other Kitchens |
| Contact Us |
| RainyDayKitchen... |
||
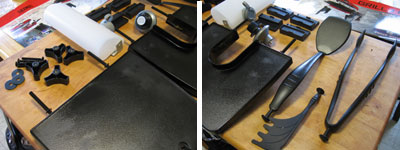
At first, we were a little bit intimidated by all of the loose pieces which came with the Thermos Grill2Go. We laid out all of the pieces and it became clear that most of the pieces were for attaching the legs to the light gray support frame...no big deal after all :-)
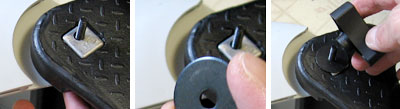
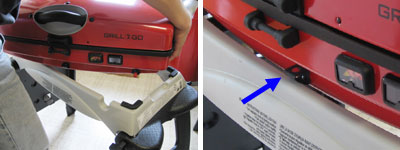
Here is a quick run down on the parts: washers and bolts for attaching the legs, gas valve, 2 end trays, 4 leg levelers, 3 piece utensil set. The leg assembly went quickly once we realized it was easier to put it together without trying to stand it up :-) The only point we had to take special note of was to put the bolt through the SQUARE hole and not the round one pointed to by the blue arrow. The round hole is actually for the pin which locks the legs in place in the fully extended position.
We had the frame fully assembled in about 20 minutes...this is only a one time task. If we need to collapse the legs, all we need to do is to loosen the bolt and push the legs inward.
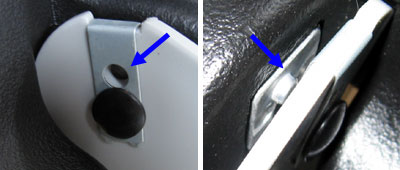
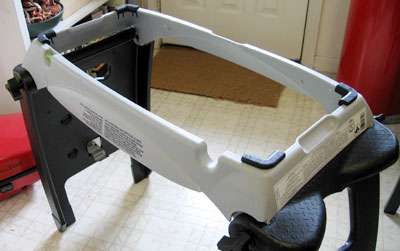
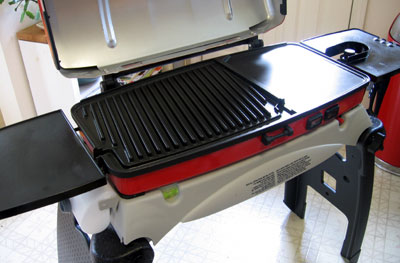
The Grill2Go burner unit comes completely assembled. All we had to do was put it into place. When placing the unit onto the frame, be sure the guide (blue arrow) is not ON TOP of the stand... it should be underneath. The entire grilling unit should be resting on the four corner rubber cushions.
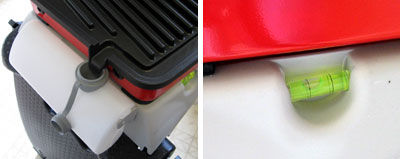
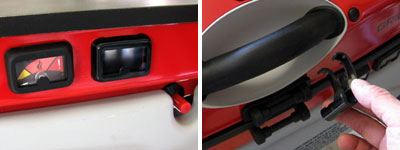
In the Grill2Go, grease drains to a side container via gravity. A handy bubble leveler is built into the front of the unit to make it easy to see if the unit is tilting in the proper direction for draining. The side tray is designed such that it will not interfere with the drainage.
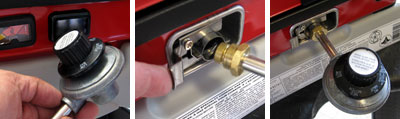
The gas valve mounts on the side of the unit. It does not screw in, but is held in place by a spring slide. When the valve is properly attached, it will rotate, but cannot be pulled out. The control knob is integrated into the valve unit.
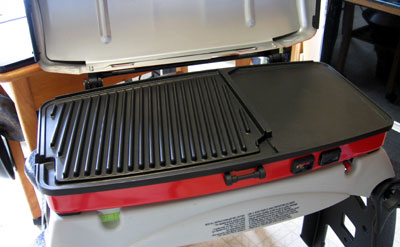
The right side tray has the appropriate cut-out for accessing the control knob. It also has three notches for hanging the utensils (tongs, spatular, grill cleaning comb) that came with the unit.
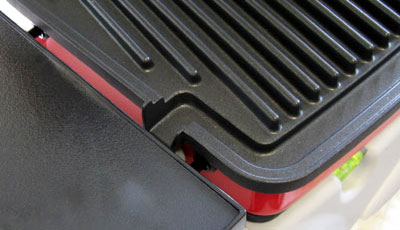
The Thermos Grill2Go's grilling surface is a closed surface with a raised bars section and a flat griddle section. The closed surface means food will not fall into the burners and cleanup should be relatively easy.
The front of the grill has a heat indicator and a clear viewport to see if the burners are lit. The last piece of the assembly was the clip for locking the lit (for transport).
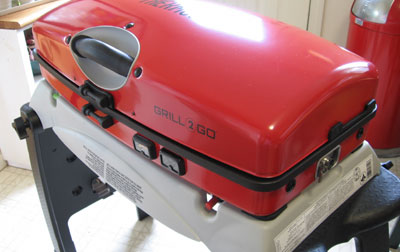
The Thermos Grill2Go is a substantial unit when assembled, but still small enough for transport. This grill can be moved by one person, but is meant to be moved in pieces (grill unit, support, end trays). |
||
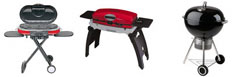
The RainyDayKitchen staff hosted the First Grill of the Season event on May 21st. The guests got some first-hand exposure to some new and interesting Summer grilling gear. We have grills from the following vendors:
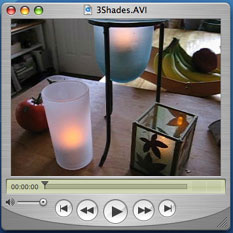
These events are also a good chance to try out some new products such as the All-Clad Stainless Steel Wok, the Waterless Cooking System, and the Epicurean wine/champagne preserver.
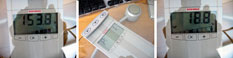
Some may remember we got in a few fitness scales because we wanted to see if they would be useful in helping us get into Summer Shape. Some of us have been weighing ourselves everyday. Others have walked past the scales as if they were radioactive.
We put them out at the FirstGrill event, and surprisingly quite a few of our guests were willing to try them. FirstGrill Summary :
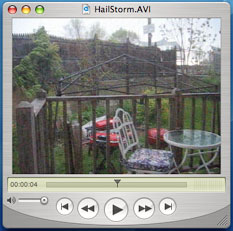
A freak thunderstorm zipped through with huge gusts of wind and even some hail. Somebody noticed the tent outside had been pulled out of the ground by the wind and had started to take flight! It all added an extra bit of thrill to the event...as if the food and the the grilling weren't exciting enough.
We caught a little bit of the storm after we got the cover of the tent off the frame. |
||