| Today |
| Carolyn's World |
| Gear & Gadgets |
| Garage |
| Garden |
| Kitchen |
| Unaccompanied Minors |
| Workshops |
| Contact Us |
| Index |
Gear & Gadgets...
|
||
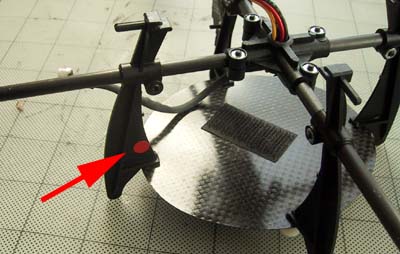
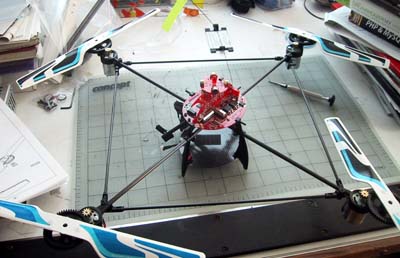
The first order of business was to determine which of the four rods pointed to the front of the Draganflyer. Fortunately, the big red dot made the identification pretty easy.
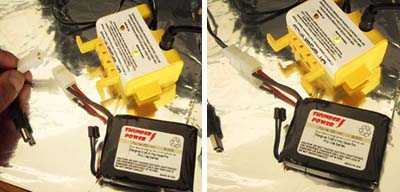
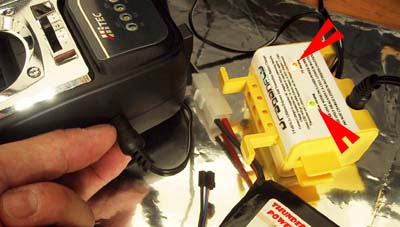
Before doing any assembly, the instructions said we should charge the batteries. The remote may take 12 hours, but the battery packs for the Draganflyer would be less. The instructions also warned NOT to leave them unattended... "Hey, you... Yes, you... How's it going? Say, aren't you the new intern here? Would you keep an eye on this until it's charged? "
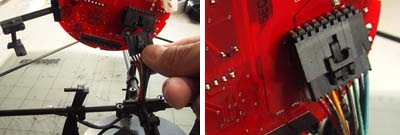
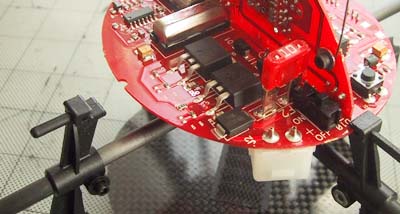
The main electronics assembly had one central connection to the motors... via the black clip above. We slipped the plug into the clip until we heard the click. Gave it a tug and made sure it was in.
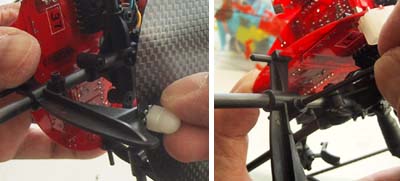
In order to get the main assembly into the four legs, we had to loosen one of them and unhook the bottom nylon nut. Once we slid the leg back, we had plenty of room to slide the assembly into the three holders. We then slip the loose leg back into position and retighten everything.
The carbon fiber platform, even though it was paper thin, was extremely ridgid. Once all four legs were back in position, the entire structure had very little flex.
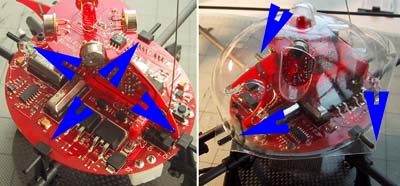
The last piece to go on was the clear canopy. The canopy was held in place by three of the pins (blue arrows).
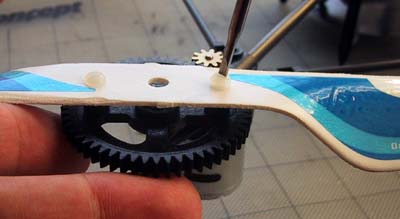
All that remained was to put the decals on the rotors and attach them to the four direct drive motors. Two of the motor had a clockwise rotation and the other two had a counterclockwise rotation. We had to take care and made sure the proper rotor was on the proper motor.
The rotors were held in place by two nylon screws. We were warned to not overtighten them. We expect we'll be replacing a fair number of them during the "training period".
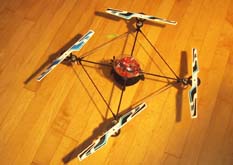
The rotors are on and this DraganFlyer is now ready for its first test flight! It's going to take us a few days to digest all of the preflight instructions, but we should have an update after the upcoming Columbus Day weekend.
|
DraganFlyer
|
|
Dragonflies are probably one of the coolest flying insects on the planet. They can hover, fly forward, backwards, and maneuver in ways unimaginable for fixed wing aircrafts. The Draganflyer is probably one of the coolest helicopter on the planet. Based on the company's video, a good pilot will be able to land it on a dime!
We got one in the mail a week ago. We'll be documenting every stage of this project. In the Unpacking article, we did what all confused, but excited geeks do when they get a few boxes of parts... they lay them out carefully, examine them closely, and guess at their purpose :-) In the Assembly article, we'll document the process of putting the Draganflyer together. We'll then spend the rest of the week learning how to fly the thing (into every wall of the office). Hopefully by Columbus Day weekend, we'll be good enough with it that we can take it with us on the trip up to Maine. If we were good enough, we may even bring back Fall foliage videos from the Draganflyer's perspective! Reviews: 1. Unpacking 2. Assembly 3. FirstFlight 4. InTheWild
Review Summary: Initial Impression- Fully Assembled? Usability- Easily Assembled! Durability- Test in progress Price- $1500 including shipping.
Related Reviews:
|
||
