| Today |
| Carolyn's World |
| Gear & Gadgets |
| Garage |
| Garden |
| Kitchen |
| Unaccompanied Minors |
| Workshops |
| Contact Us |
| Index |
Gear & Gadgets... |
||
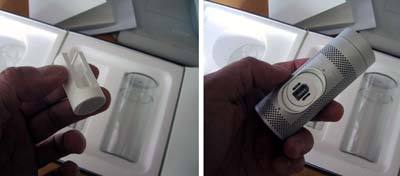
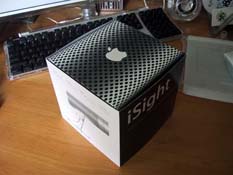
The attention to design details goes to every part of the product and the packaging is no exception. Thus, the opening any Apple product is always an experience to be savored... no need to tear right in, but rather to unpacked slowly, layer by layer.
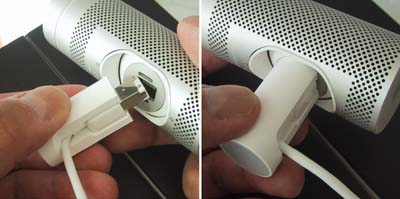
The camera came with a variety of mounting options... magnetic mounts, screen mounts, and desktop mounts. There are also plug adapters to fit the FireWire plug onto the mounts.
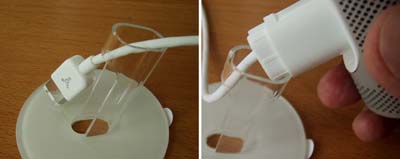
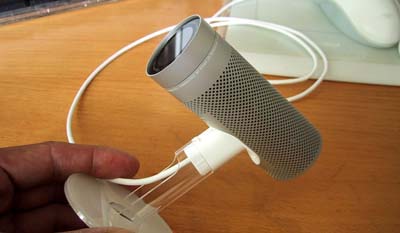
The magnetic base just plugs into the camera and is now ready for mounting onto any metal surface (ex: aluminum PowerBook). If you need to use the camera with a desk stand, use the one piece clear base. First, attach the plug adapter, plug one end into the camera, then thread the cable through the top of stand and out the base. Pull the cable through. The camera can now be mounted on the post of the stand.
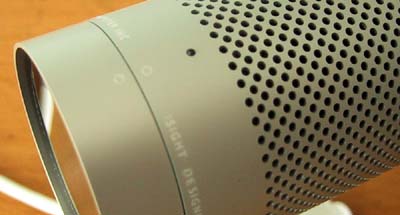
The camera is now mounted on the stand and is now ready for use. The stand can be permanently mounted on a surface by peeling off the cover to adhesive film on the bottom. The camera's On/Off switch is built into the outer ring of the housing. The two circles, when lined up, turns the camera ON.
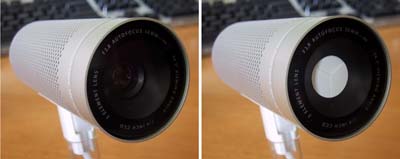
In the right photo above, you can clearly see the lens shield in place when the camera is switched off. This is another example of Apple's attention to details which make their product easy and a pleasure to use. The carry tube is a handy protective case for folks that want to take their iSights with them.
In the next review (FirstUse), we'll run through the installation process and check out this video conference webcam, software's ease of use, and the image quality. |
Apple iSight video camera |
|
You know when Apple puts it name on a product, it will both be cool looking AND easy to use. In this review, we are going to take a FirstLook at the Apple iSight... a portable firewire color video camera! Reviews: 2. First Use 3. In The Wild Report
Review Summary: Initial Impression- Pure Apple Usability- Quick setup, firewire Durability- Test in progress Price- Expensive
|
||

