| Today |
| Carolyn's World |
| Gear & Gadgets |
| Garage |
| Garden |
| Kitchen |
| Unaccompanied Minors |
| Workshops |
| Contact Us |
| Index |
Gear & Gadgets... |
||
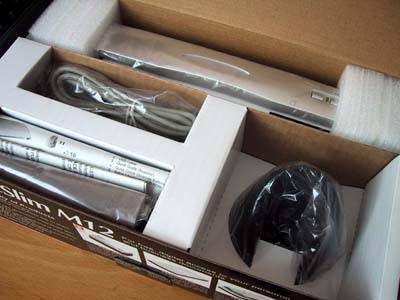
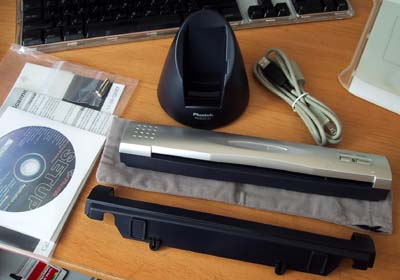
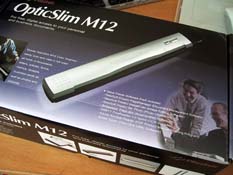
The Plustek OpticSlim M12 package comes complete with carrying bag, cables, stand, software, and a wall mount.
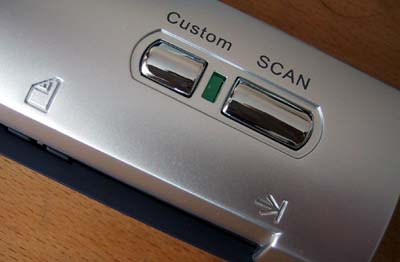
There are only two buttons for controlling the scanner. The rest of the controls are done via the software. One icon shows that you have to line up the edge of the page to the right. The other icon shows that page to be scanned is to be placed face down into the scanner.
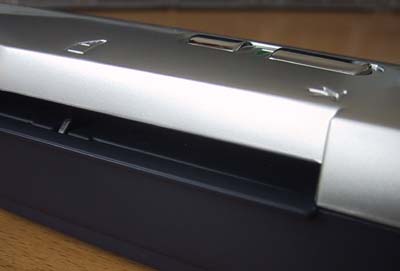
The "scan trigger" is in the opening. As with all single sheet manually fed scanners, the trick is to feed the paper in straight. Otherwise, the scan will be crooked and the scanner will likely eat up the page.
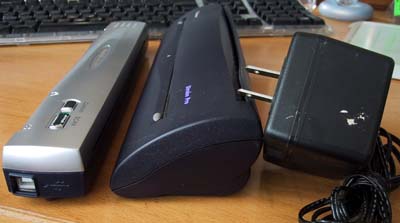
The USB port is on the side of the unit. This made it easy for the paper to move from front to back without jamming up against the cable.
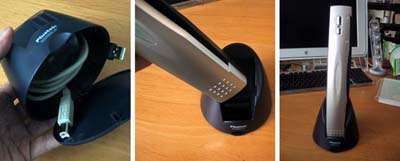
The wall mount idea is kind of interesting. You can mount the bracket on the wall, drop in the scanner and use it when you are at home without it cluttering up the desk. Just pop the scanner out when you want to take it on the road. It would make sense to get another USB cable so you won't have to keep unplugging the one attached to your desktop machine. Compare to last generations single sheet scanner, the OpticSlim is clearly much thinner and lower in profile.
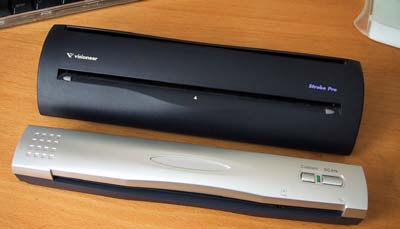
In the photo above, we paired the OpticSlim with the Visioneer Strobe Pro to show the relative size of the two units. The Strobe Pro scanner is of a similar idea, but obviously quite a bit larger. The Strobe also required a proprietary USB cable and an AC adapter... which made it transportable, but not truely portable. The OpticSlim came with a stand. The latch at the bottom of the stand opens to a space for storing the USB cable. We appreciated the thought but we are not sure if the stand was all that necessary. We would just put the cable and scanner in a drawer if we didn't mount it on the wall... putting it in a stand on the desk to collect dust just didn't make much sense to us.
In the next review (FirstUse), we'll run through the installation process and check out the scan speed, software's ease of use, and the scan quality. |
PlusTek OpticSlim M12 |
|
Scanners are probably one of the more useful tools around the office. A scanner will let you make a record of a document complete with signature and any other markings. Sometimes you can get away with taking a digital photograph, but it never has the same detail as a scanned copy. Up until now, bringing a scanner with you on the road was just not practical. We have may other smaller document scanners (Canon LiDe30, Visioneer PaperPort, etc...), but none of them can really claim to be truely portable. In this review, we are going to take a FirstLook at the Plustek OpticSlim M12... a truly portable color scanner! Reviews: 2. First Use 3. In The Wild Report
Review Summary: Initial Impression- Super Portable Usability- Quick setup, USB powered Durability- Test in progress Price- Good
|
||
