Boxster Project : Brake Light Switch Replacement
Simple to fix IF you can get at it!!!
The Boxster’s yearly vehicle inspection comes at the end of July. So the RainyDayGarage folks spent a little time last weekend getting it ready (checking the lights, remounting the front plate, etc).
In the process, they realized NONE of the rear brake lights (left, right, center) were coming on. A check of the bulbs and the fuse showed them all to be fine. So the problem most likely was the brake light switch.

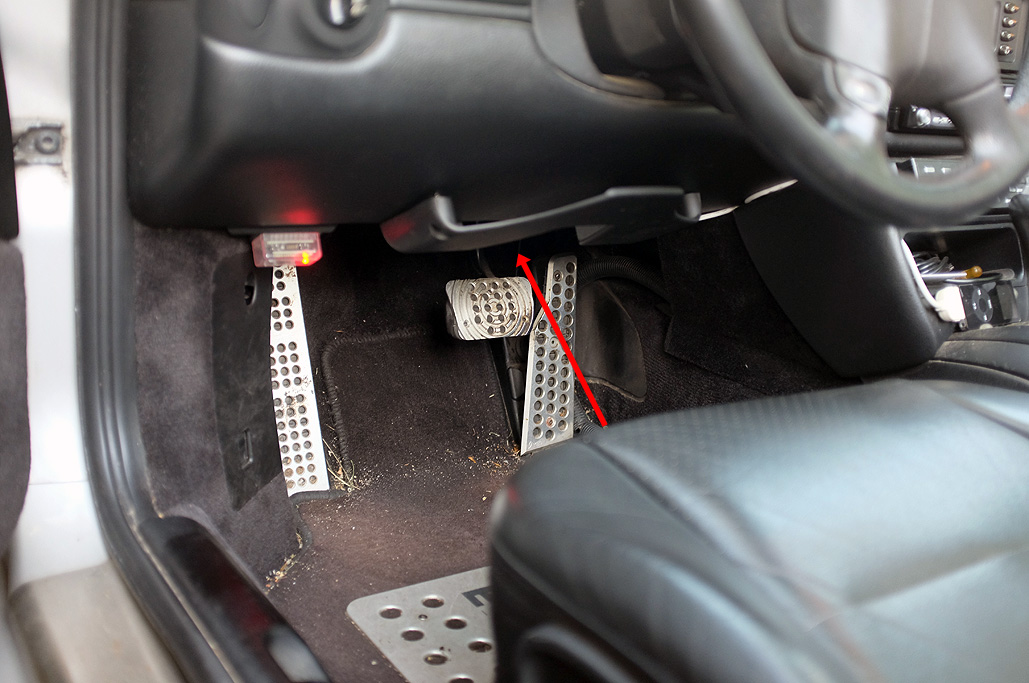
The brake light switch is difficult to see and even harder to access, because of its location underneath the dash and behind the arm of the brake pedal. After much contortion in the footwell, the switch was located and removed so we could see what was what.

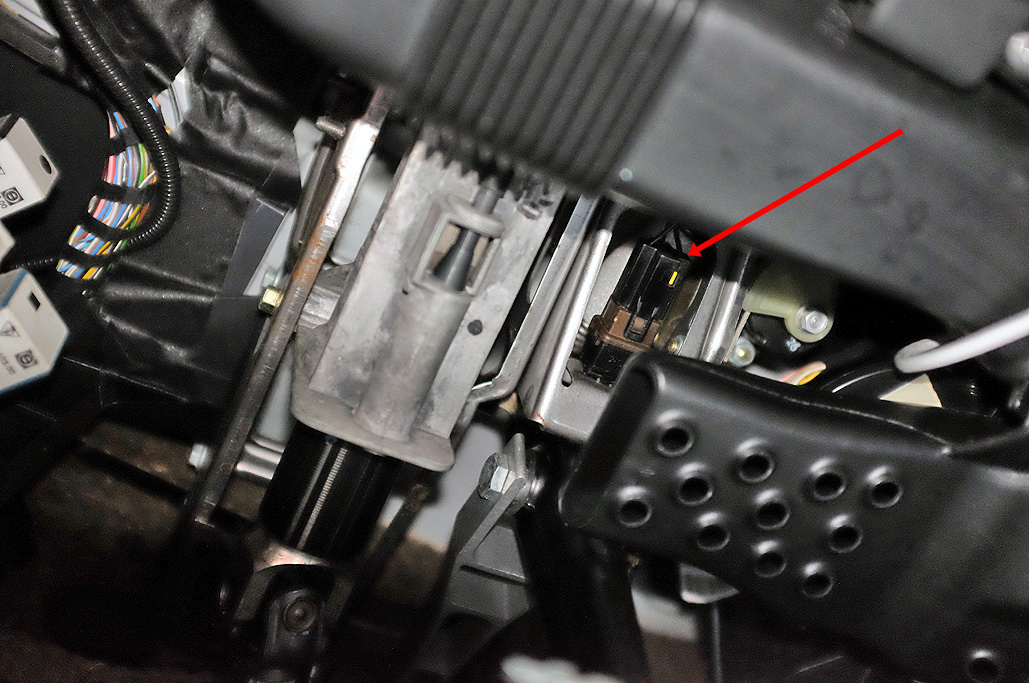
It took a a few tries, but we managed to get a decent shot of the switch. Looking up from the floor of footwell, the switch is visible, but hard to reach, especially with the AC duct in the way.
The switch must be turned clockwise 90º to be freed and to slide out, then unclipped from the wire harness…a tricky maneuver which is difficult to do in the tight quarters. We had to do it by feel.

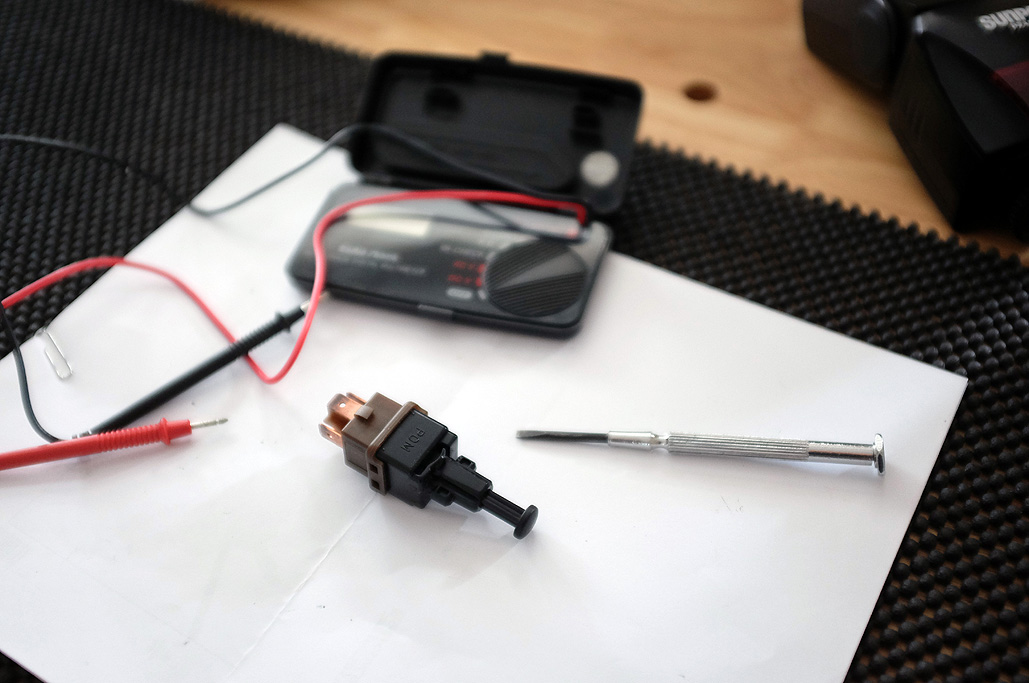
When brake pedal is pressed, the switch’s circuit closes; when the pedal is released, the circuit opens. The multi-meter confirmed that the switch was doing what it was supposed to do. So what’s up with this switch???
When we took the switch apart, we got a better understanding of how it operated: the spring-loaded mechanical switch goes to the “open” or no-contact position when there is pressure on the stem….when the brake pedal is NOT being pressed. That may seem counter-intuitive, but it is actually a pretty good strategy. Stepping—gently or hard, it doesn’t matter—on the brake pedal will have the same effect on the switch: it will release the pressure on the switch and close the circuit.

After taking it apart, cleaning it, and reinstalling it…the problem was still there, but now the lights were on ALL the time. From a safety perspective, that’s better than the lights being off all the time, but clearly not a fix.

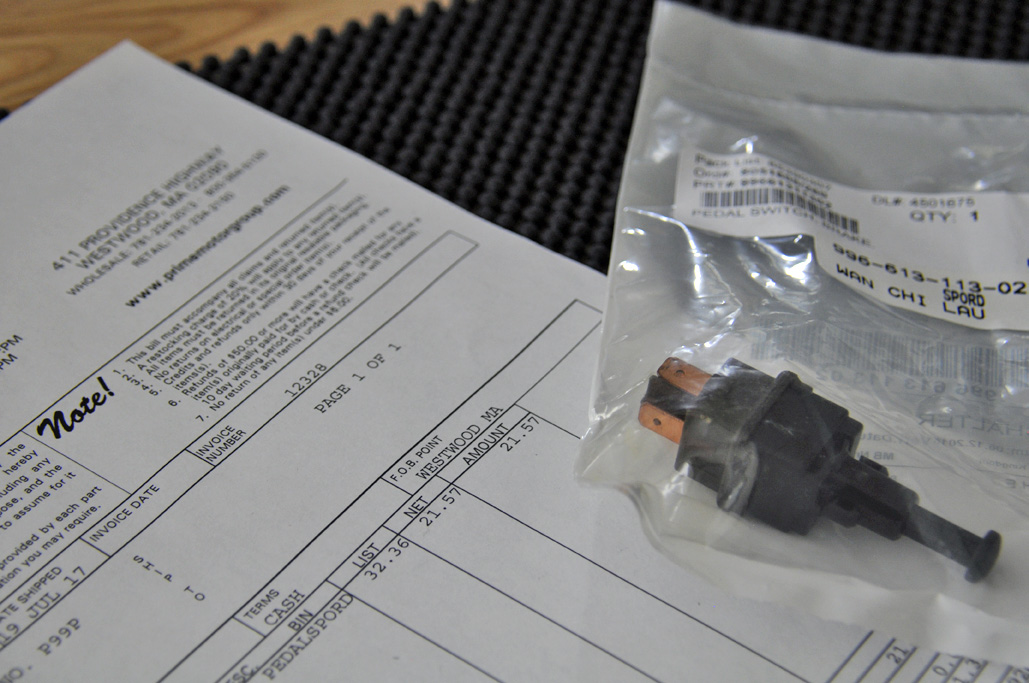
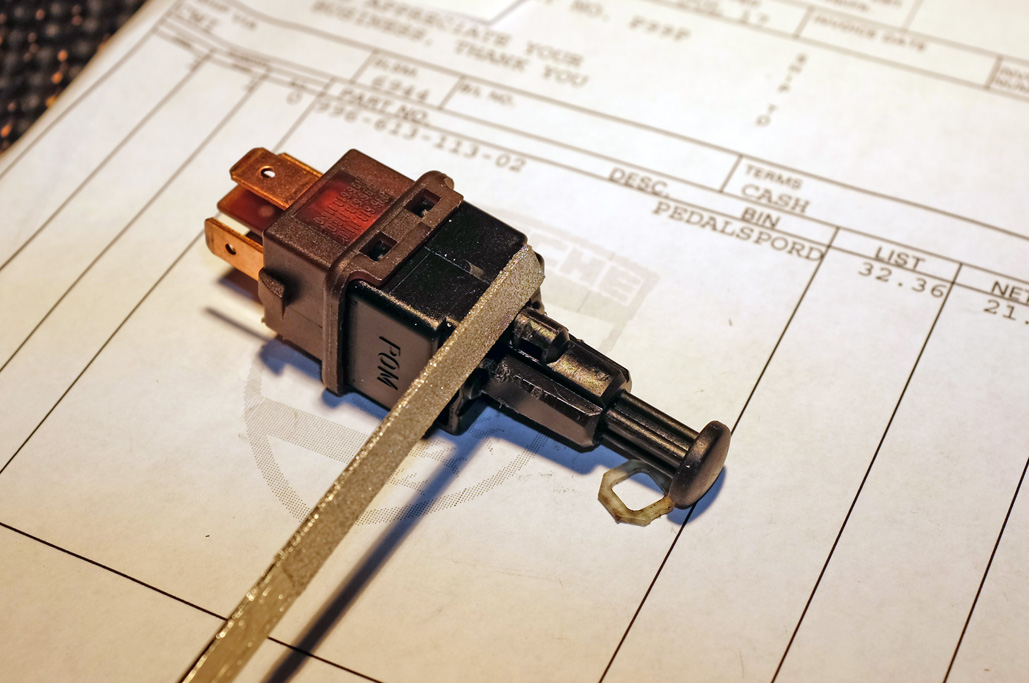
After much disassembly and reassembly, we still could not see why the switch wouldn’t work. We finally had to bite the bullet and buy a new one from the dealer. At $22, it was probably the least expensive thing we’ve ever purchased from them!
The Boston dealer found there was one in NH. It gave us a few more days to bang our heads against a “defective” switch to see why it wouldn’t work. We never did figure it out until we compared it to the new switch.

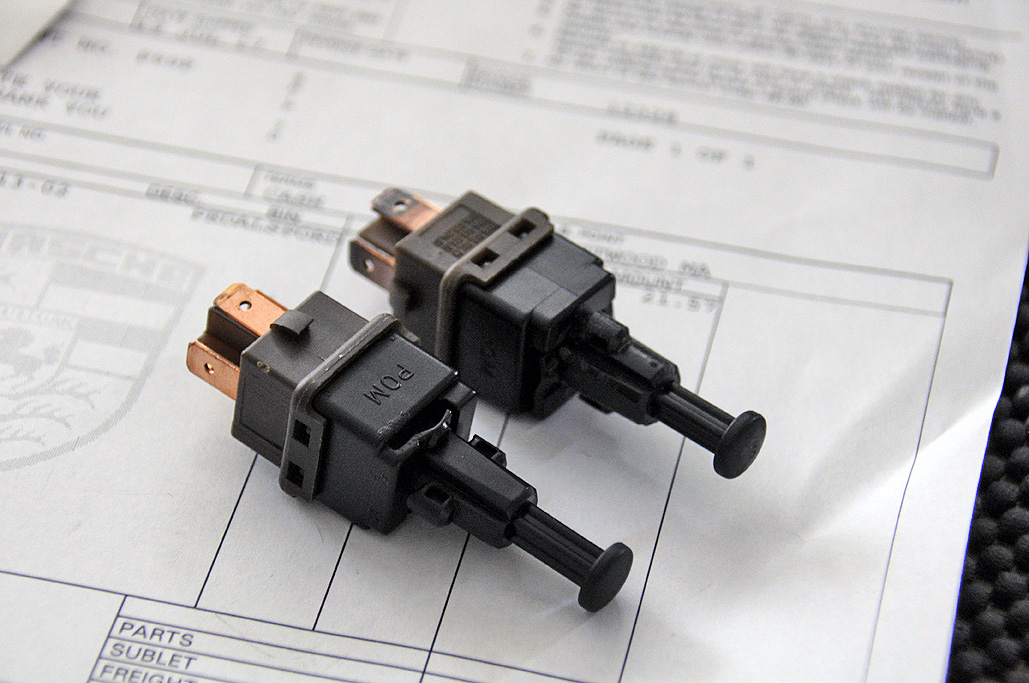
When we were able to feel how the plunger of new part worked, it was pretty clear the problem was something with the stem. In the photos, the old switch is on top, the new at the bottom. The bottom switch had a plunger which “traveled” smoothly all the way down. The old switch, while it did move, did not travel as far and did not do cleanly. Huh. Couldn’t tell that with a multimeter!

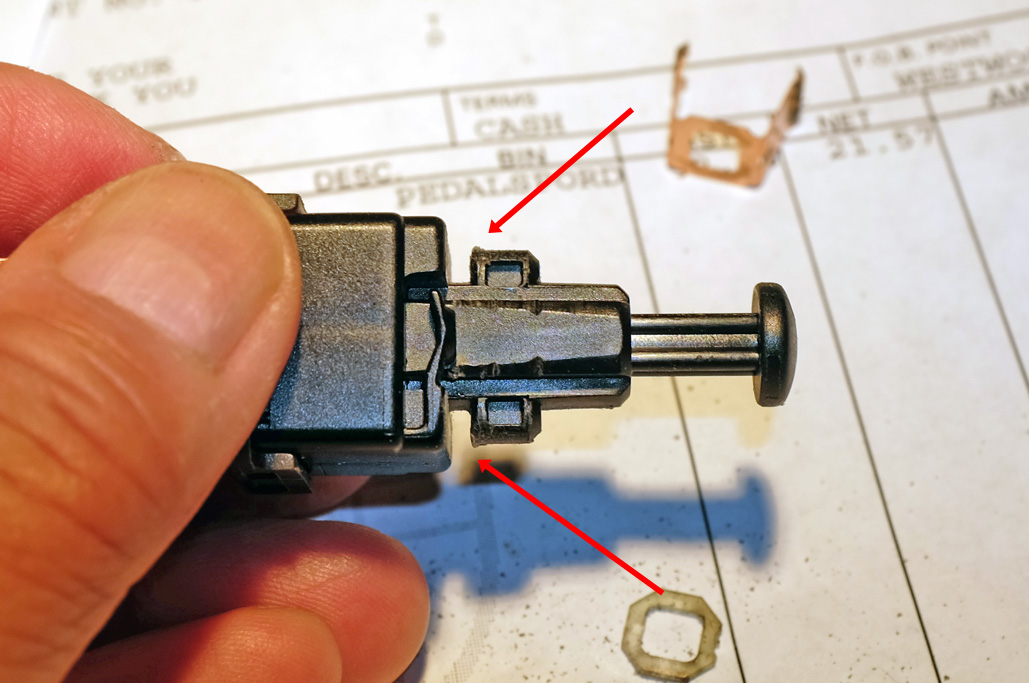
Of course, having a new switch in hand was one thing, getting it installed was another. The location made putting the switch in difficult, but there were other challenges with a new part. In this case, the notch that locks the switch onto the plate was a little too “new” and would not turn to lock itself into place. We were able to get it to “stay” without it having to be locked in place only because the fit was tight. However, it would eventually vibrate itself loose and fall out. The switch had to be turned and locked into place.
We finally realized that if we filed the opening a little bigger, it would turn easier. We did just that and it worked 🙂 So instead of struggling with trying to turn the part, filing the opening a little bigger made it a non-issue. Oh yeah, file a little bias to the corners to make sure it will not catch when turning!
NOTE: The original instructions which inspired this DIY is from the Bentley Boxster Service Manual (Section 94-6). Similar instructions may also be found in Dempsey’s 101 Projects For Your Porsche Boxster (Project 93)
Links to items mentioned:


Leave a comment