Urban Safari: Starry starry night…
in Maine
The RainyDayCrew had a very relaxing month of August, away from the rigors of playing with gadgets/testing out new tech/generally fiddling with the stuff that shows up at the office.
OK, that’s not exactly true: our time off was relaxing, but we didn’t just lounge around.
OK, we did just lounge around, but that doesn’t mean we didn’t do anything 🙂

One of the really enjoyable things we did was spend a few days at a friends’ wonderful place in Maine. Their “cabin” is on a lake, and the land on the opposite shore is owned by The Nature Conservancy. This means no development and very little light pollution! Our first thought when we were invited up: was what astrophotography gear we should bring?
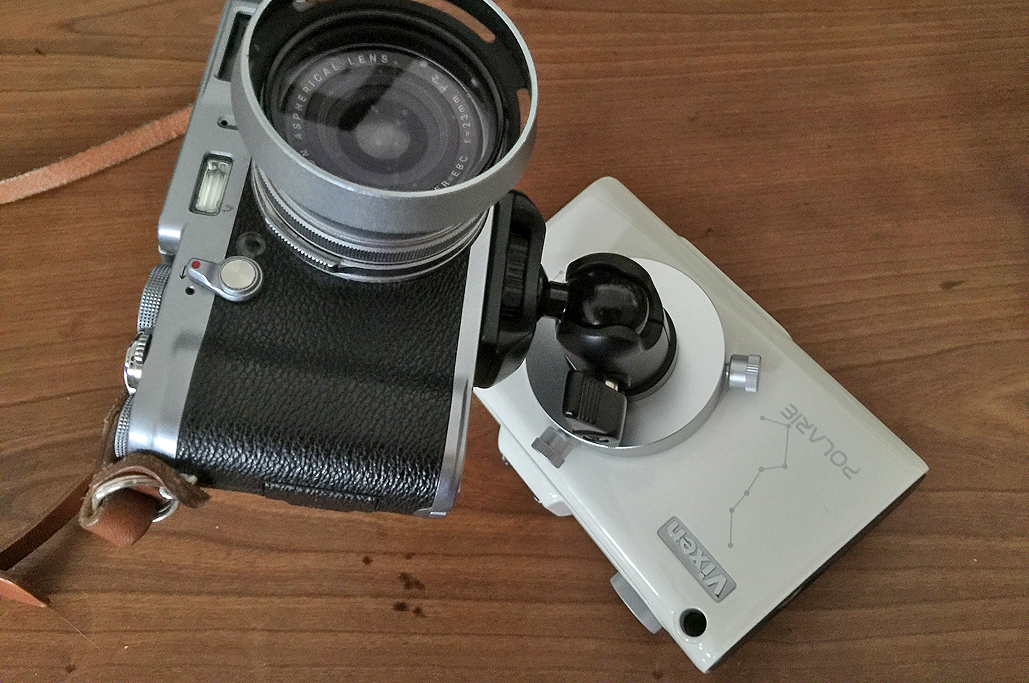
After some consideration (weather, weight, ease of setup, etc), we decided to go with the Vixen Polarie and the Fujifilm X100S camera. We chose this setup because we knew we would probably have better luck taking wide-field astrophotos at an unfamiliar site than in trying to get planetary images. The gear selection turned out to be exactly right!
The Vixen setup consisted of the following:
- Vixen Polarie Tracker
- Vixen Polarscope
- Tripod with two ball heads (one for the camera, one for the tracker)
- 2 AA batteries
- Manual shutter release cable

We have used the Vixen setup before, but still rehearsed setting up during the day. We didn’t want to fumble around on the dock and accidentally drop something into the lake! The sequence ran something like this:
- Align the tracker using the PolarScope;
- Attach the ball head onto the camera;
- Attach the circular mount onto the ball head;
- Mount the camera assembly onto the Polarie tracker.
NOTE: In actual use, the polar-aligned Polarie tracker will be mounted onto the tripod already. The photos here are done with the tracker off the tripod for clarity.

While manually aligning the Polarie tracker is a simple task, it obviously cannot be done ahead of time.
The photos below show the setup of the Polarie tracker with the PolarScope inserted. Everything is aligned to the Earth’s rotational axis.

The basics steps are:
- Set the tripod at a comfortable height;
- Insert the Vixen Polarscope into the tracker;
- Orient the tracker to North and find the North Star (roughly 45º from the horizon for Maine);
- Lock it all down;
- Remove the Polarscope and mount the camera.

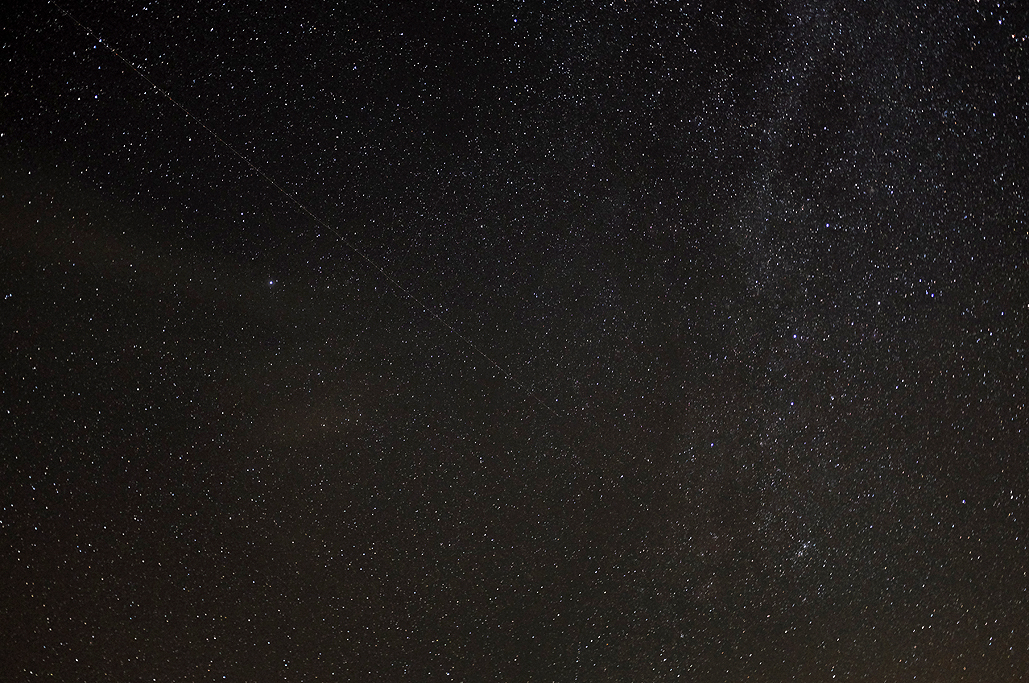
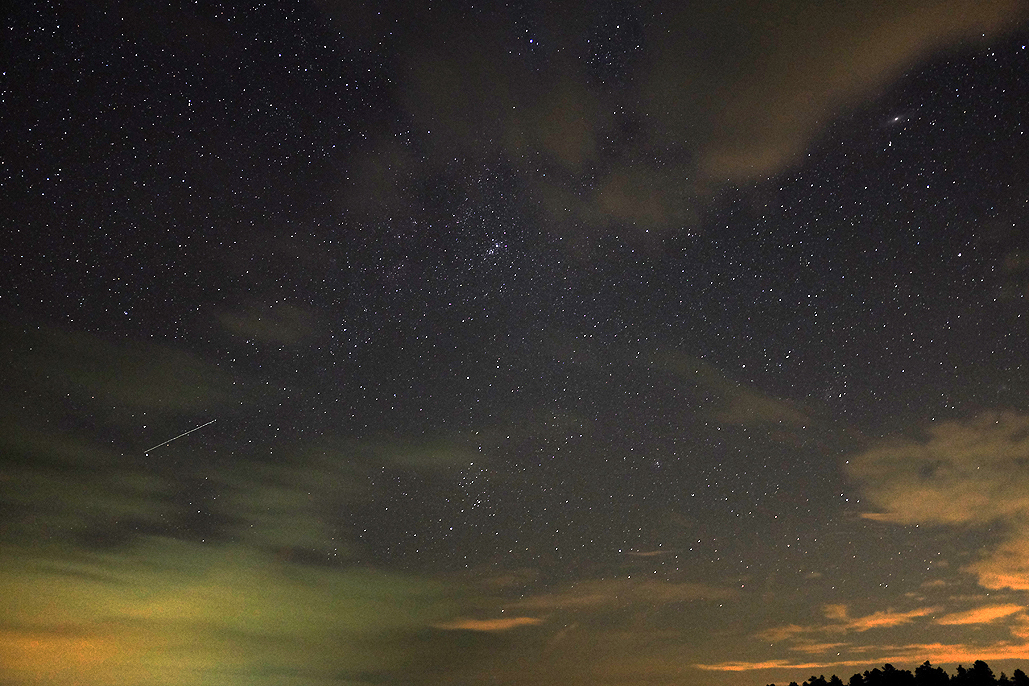
The night sky on the lake was exactly like the shows we have seen at the MOS planetarium: bright constellations, an occasional streak of a meteor, and once our eyes adjusted to the darkness, countless stars of the Milky Way.

We took a lot of photos with the Fujifilm X100S (manual focus, bulb-exposure, shutter cable), experimented with different settings, and once again came away impressed with how easy it was to take wide-field astro images with the Vixen setup. Here are a few of the we particularly like from the Maine outing:

We are still pursuing our dream of Urban Astrophotography because we know we can “see more” with our camera than with our eyes. However, as the Maine outing shows, you really can’t beat having access to a dark site. We hope to leverage our experience in the wilds of Maine to improve our results in the city. Look for more in the Fall!
Amazon links to items mentioned:


Leave a comment