Tameshigiri Series: Japanese Katana tear-down
Sword components
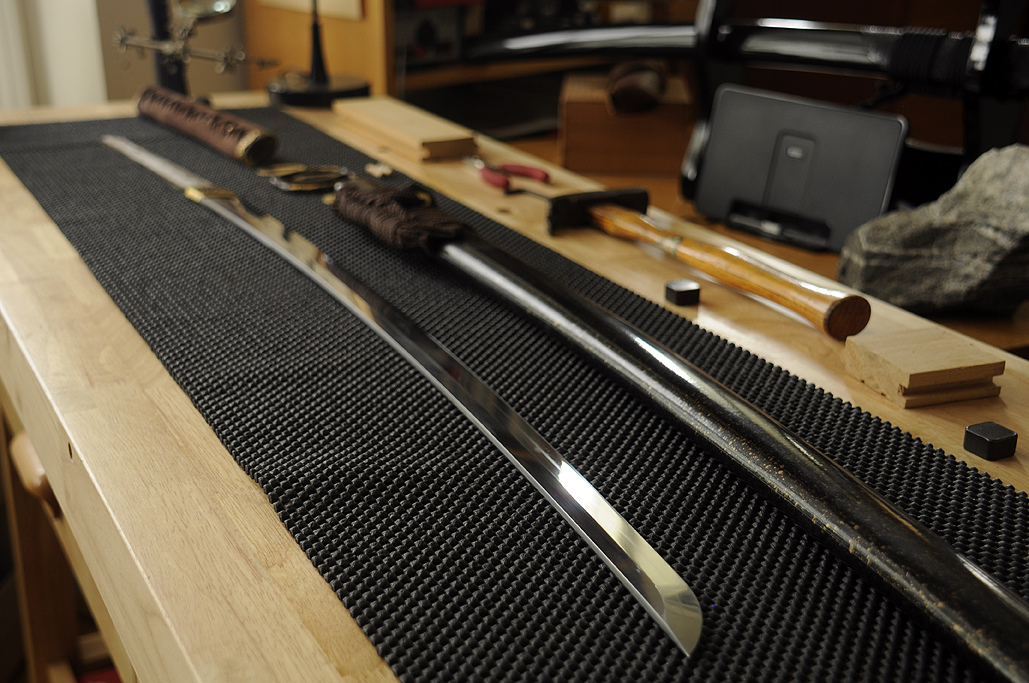
We put the Windsor workbench in the office so we can work on various projects without having to go down to the shop. One of those projects is learning how to maintain the katanas we have acquired (from swordsmiths such as HanBon and LyueSword.
The katanas (#1, #2, #3) are all full-tang blades which can be taken apart for cleaning, polishing, or any other required services. Reading about how to do it is one thing, but when you can hold and examine the pieces in your hands it’s an entirely different experience. We disassembled one for a better look at the blade, tang, and components for this article. While taking one apart is not difficult, proper safety procedures must always be observed.

The only thing holding the blade onto the handle is one or two small bamboo pegs (mekugi). Tapping them out allows the blade to slide out. The handle’s fit to the tang may be quite snug and may not come free just by removing the pegs. We found it helpful—and a lot safer—to first secure the blade in the wooden vise of our workbench (take care not to mar the finish on the blade), tap out the pegs, and THEN gently knock the handle (tsuka) free with a block of pine and a mallet.
Needless to say, extreme care must be taken in the handling of the freed blade.
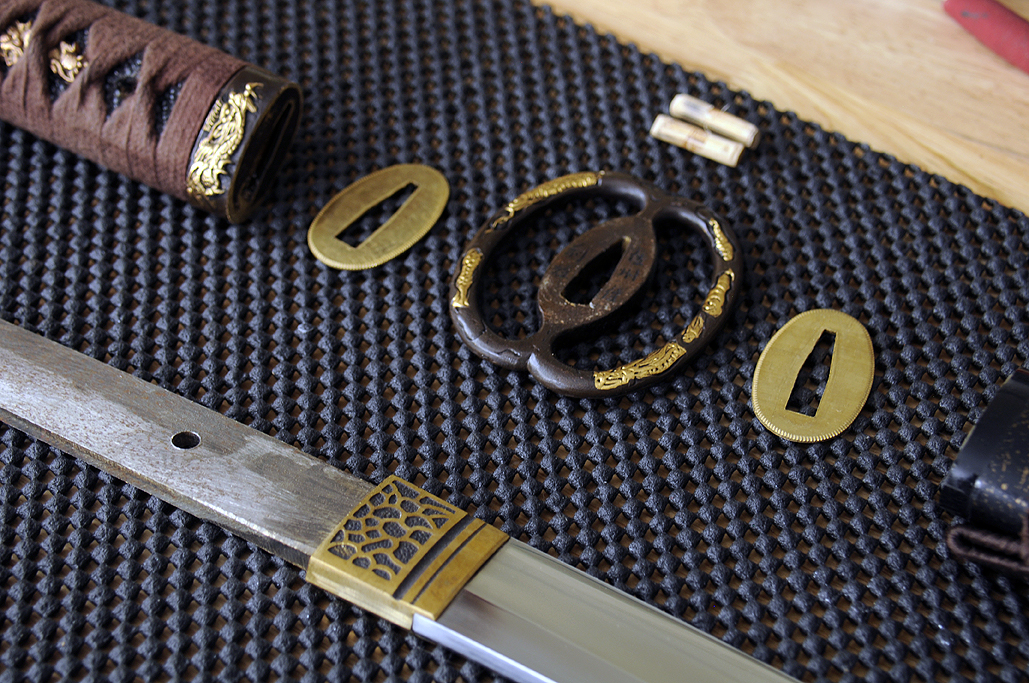
Here is a closer look at the components: Handle, spacer, guard, spacer, scabbard. Note that the tang has two holes. The pegs go through the handle and those holes to secure the blade, making it impossible for the blade to come flying out when cutting. While one peg is sufficient, having a second as a back up just makes good sense.

Between the handle, the guard, and the blade collar are two spacers. They protect the harder parts from each other and allow all the pieces to mesh together without damage.

Below is a close-up look at the brass blade collar. Note that this piece is held in place by the fit only. There is little to no gap as the fit to the blade is quite good. The notch in the collar is butted up against the back of the blade which prevents the guard from moving forward any further. The collar will then stack up against the spacers, guard, and all the other pieces to follow.

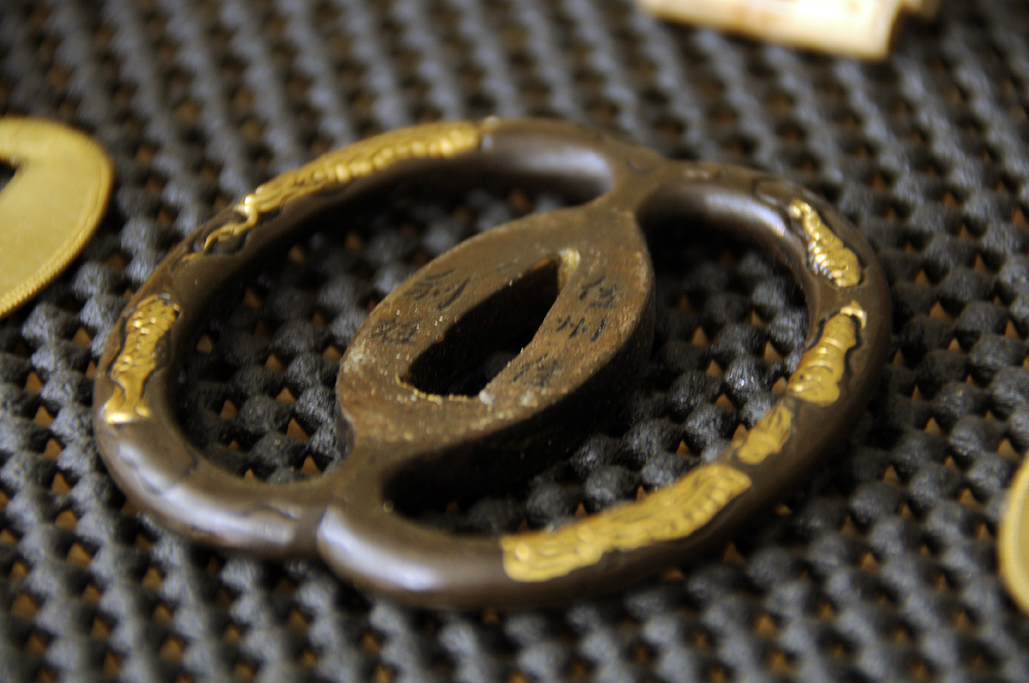
In taking the katana apart, we came upon one interesting and unexpected discovery: there were some characters carved onto the flat section of the guard. They were covered by the spacers and not visible when the sword was assembled. We have no idea what they are, but we’ll find out.

Knowing how to take apart a katana is useful for cleaning and maintenance purposes, but it also allows one to have a more intimate understanding of the purpose of each component. This is significant, as many owners view the katana as more than just a tool, but as an extension of their martial and personal spirit.
Amazon links:


Leave a comment