BlueChick Z Axis Assembly
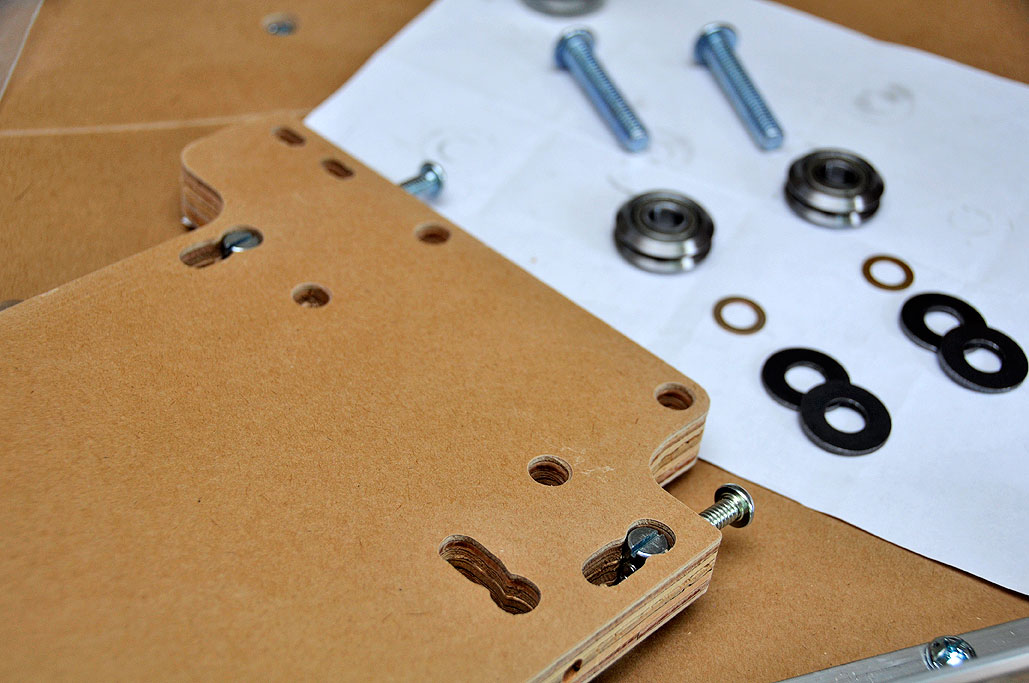
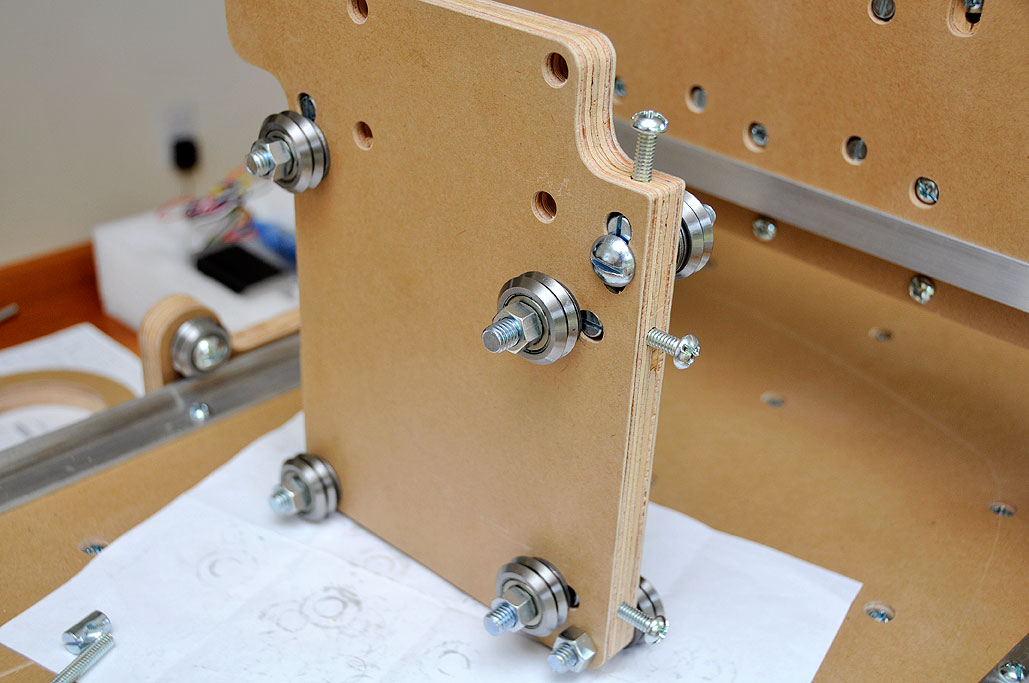
While this piece is more complex due to having more components, the individual items mounted on it were not any more complicated. The sequence of pieces (bolt, bearing, small washer, big washer nut) were still the same.

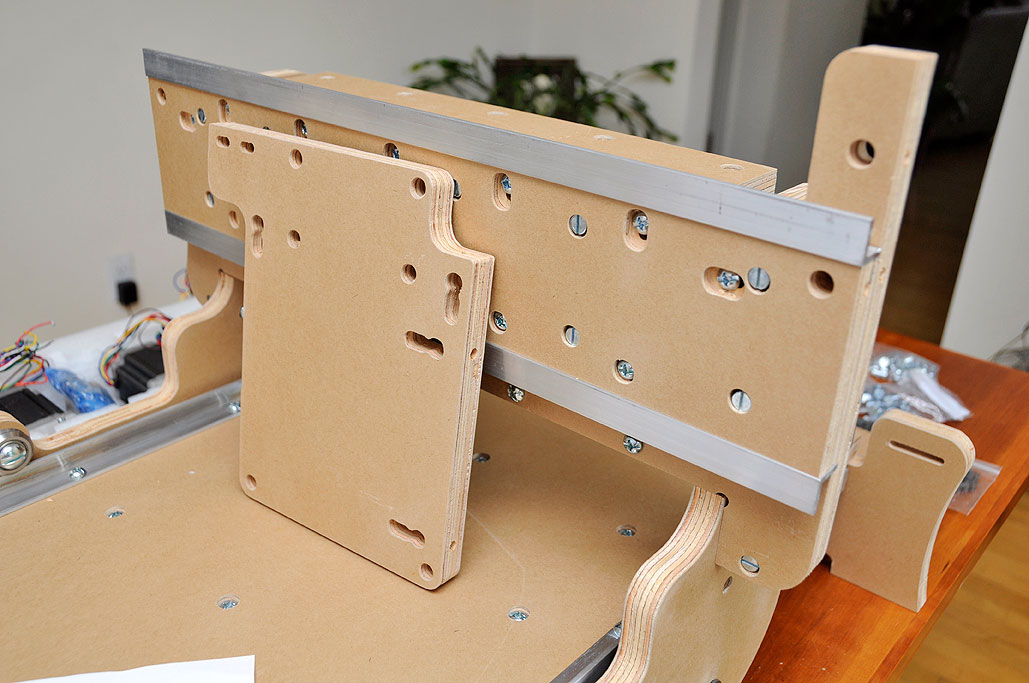
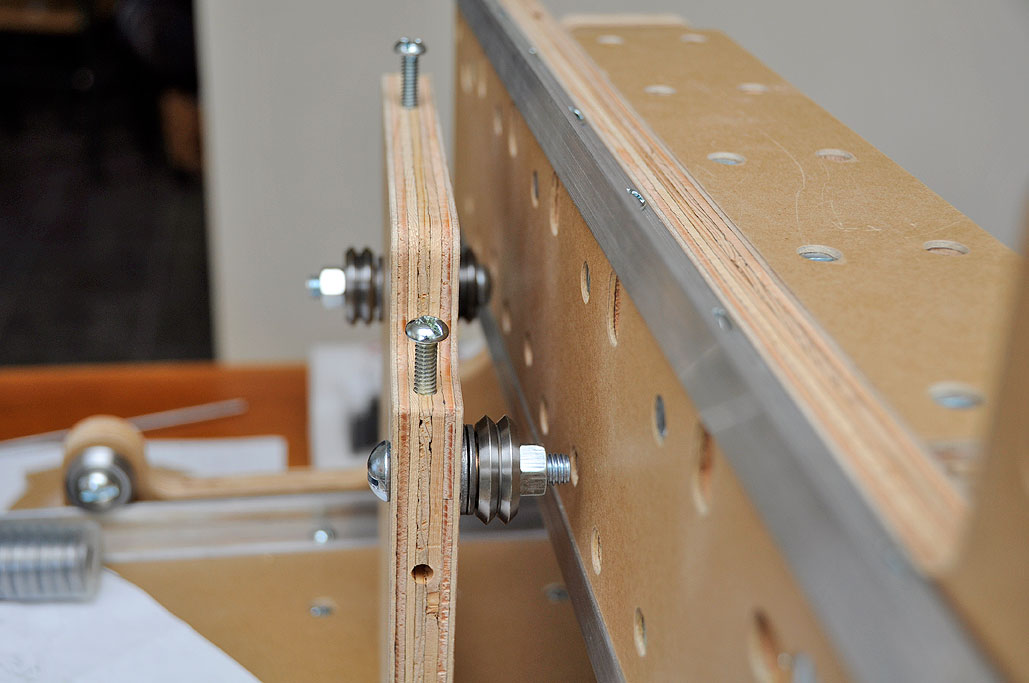
There are two points we would like to highlight about the assembly. One is that in order to ensure that the Z-axis board clears the bolts on the Y-axis motor mount, some of its V-groove bearings have two large washers as spacers. The other is that the Z-axis board has V-groove bearings on both sides. In order to thread the bolts through both bearings, three of the bolts for the Z-axis board are longer. Also, the direction of the bolts in the Z-axis installation matter: their heads are on the inside, so they will protrude out toward the front.

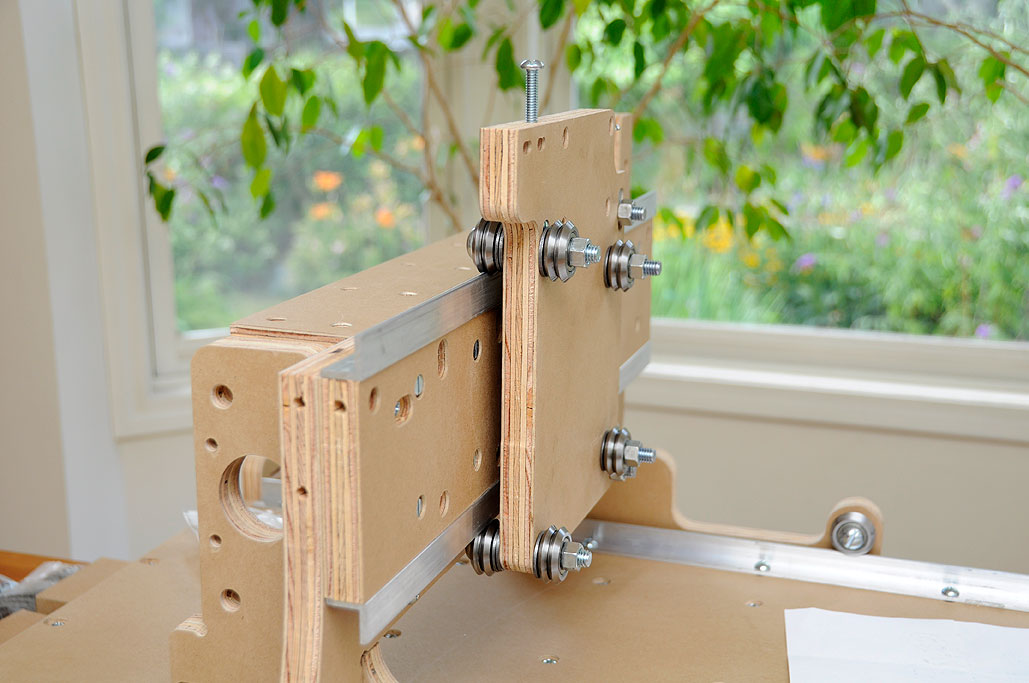
Mounting the piece on the Y-axis rails was more difficult than mounting the X-axis. We found it easier if we adjusted the the positions of the top two V-groove bearings to be high enough so we could slide it onto the rails from one end. After the piece was mounted on the rails, the Y-motor mount could be installed. The space between the motor mount and the Z-axis plate can be tight if you have large hands, so an open-end wrench may be helpful in this step for holding the nuts when tightening things up.


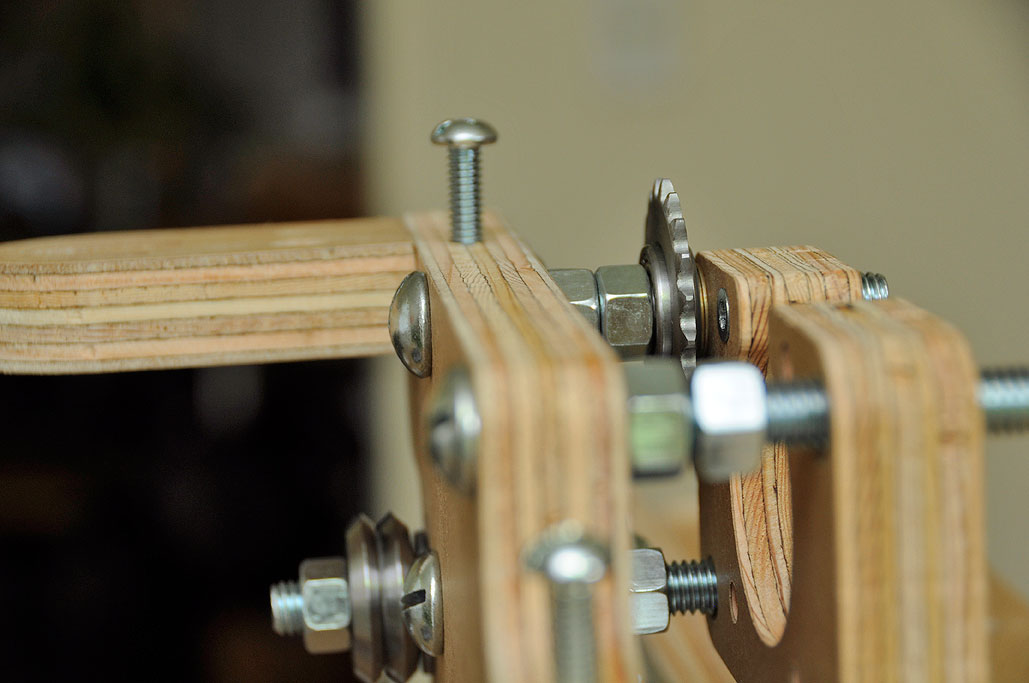
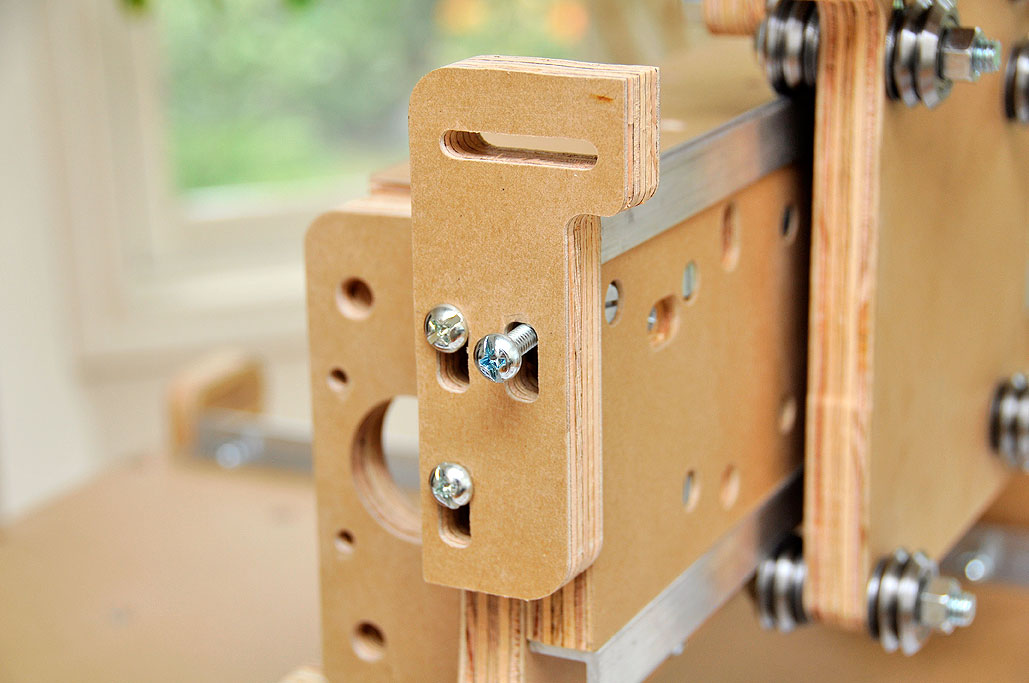
Once the motor mount has been installed, the end pieces may be attached. There is no need to tighten down the chain anchor pieces at this time. They will need to be moved later so the chain can be aligned with the drive sprocket and the idler bearing.

This is what was left of the hardware at this point. What is left of the construction is mounting the three stepper motors, installing the X and Y-axis drive chains and the Z-axis screw. We have not encountered any problems with the fit or alignment of any of the pieces. This is exactly what we had hoped for by going with a kit instead of doing our own cutting and drilling. Besides the quality of the parts, we were also quite impressed with the ease of how things went together to date. Total assembly time so far…a little over three hours, which could have easily been compressed if pushed, but enjoying the process is half the fun! [


Leave a comment